As an Amazon Associate, we earn from qualifying purchases. Some links may be affiliate links at no extra cost to you. Although our opinions are based on curated research, we haven't used these products. Articles generated with AI.
Setting Custom White Balance Outdoors
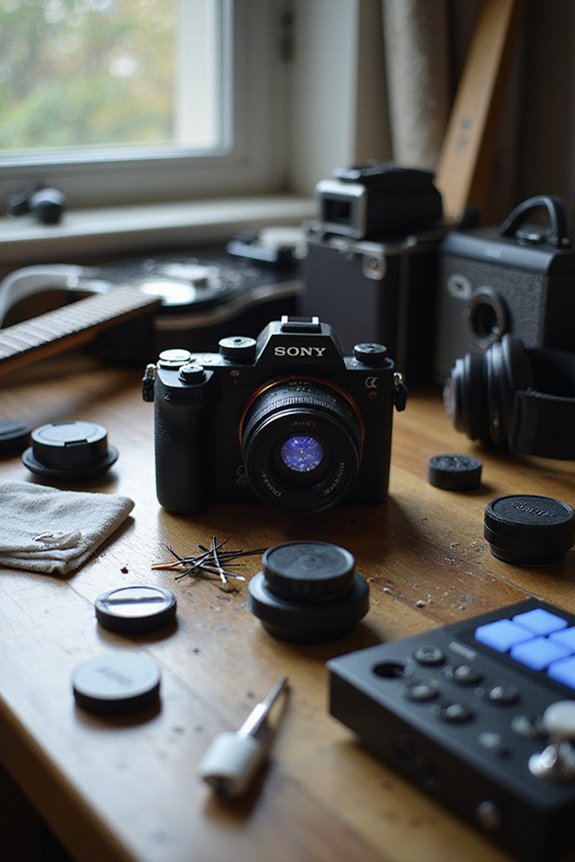
Setting custom white balance outdoors is essential for capturing the scene’s true colors. To do this, we can use a white balance card or a plain white sheet of paper, ensuring it’s evenly lit without shadows. We’ll then access the camera’s menu and select “Custom White Balance,” taking a photo of the white reference. Adjusting the Kelvin temperature based on conditions—like setting between 5000K and 5500K on sunny days—makes a significant difference. Let’s explore more ways to enhance our outdoor photography!
Key Takeaways
- Use a white balance card or a large piece of white paper to capture true white under the lighting conditions.
- Ensure the chosen reference is evenly lit without any shadows for accurate calibration.
- Access your camera menu and find the “Custom White Balance” option to set your white balance.
- Capture a well-exposed photograph of the reference to set your custom white balance.
- Adjust Kelvin temperature based on conditions, e.g., 5000K-5500K for sunny and 7000K-8000K for shaded areas.
Understanding White Balance and Its Importance Outdoors
You may be interested


In photography, achieving the right color accuracy is essential, and that’s where white balance comes into play. It’s vital for correcting the color temperature of various light sources, allowing us to represent colors accurately. When we’re outdoors, different conditions—like bright sunlight or overcast skies—introduce color casts that can affect our images. For instance, shooting during golden hour enhances warmth, while twilight adds coolness. By adjusting white balance, we can capture the scene’s natural vibrancy, ensuring that colors appear realistic. Using Auto White Balance (AWB) often helps us get a solid start, but remembering that we can fine-tune this setting during post-processing offers even more creative potential. This flexibility is invaluable for exceptional outdoor photography.
Types of White Balance Settings
Exploring the various types of white balance settings can greatly enhance our outdoor photography. Auto white balance (AWB) is the go-to for beginners, adjusting color temperature based on lighting conditions automatically. For sunny days, selecting the Daylight setting provides neutral colors, while the Cloudy option warms up images on overcast days. In shaded environments, utilizing the Shade setting combats cooler tones effectively. We might also explore specific settings like Tungsten, which can be handy during sunsets, or Flash for outdoor portraits. Finally, manual adjustments allow us to fine-tune settings based on our scene and creativity. By understanding these techniques, we can elevate our Photography skills and capture vibrant, true-to-life colors.

【Lightweight Design】 The filter frame is made of aviation aluminum alloy, and the edge of the frame adopts CNC non-slip design, which is easy to install and disassemble. It weighs only 1.2g without affecting drone calibration and balance.

Pop up soft light diffuser is made of high quality material for long term use. Also, outer frame is durable, which keeps the diffuser in good shape.

Micro Four Thirds lens mount system produces professional level images while greatly reducing the overall size compared to traditional DSLR lenses
Using Custom White Balance for Accurate Colors
Utilizing custom white balance can greatly improve our outdoor photography by providing more accurate color reproduction. By employing neutral color calibration, we can neutralize any unnatural color casts that arise from mixed or changing lighting environments. This guarantees our images reflect the true essence of the scene, capturing vibrant skin tones and authentic textures that standard settings might overlook.
In situations with varying light sources, like shadows and sunlight, custom white balance excels where auto settings falter. It reduces the need for extensive post-processing, saving us time while delivering consistent results across multiple shots. With practice, we create images that not only meet our expectations but also maintain a professional standard in color accuracy.

Bold Color Effects for Creative Photography: The MagMod Pro Creative Gels include 6 professional-grade color gels for lighting in bold primary and secondary colors: Red, Orange, Yellow, Blue, Green, and Purple. Perfect for dramatic lighting, accent lighting and creative effects that make your photography stand out.

Overcome tough lighting conditions, high light transmission for successful use in low lighting conditions

Genuine DGK Color Tools Quality - Spectrophotometer tested - the best card at the best price
Steps to Set Custom White Balance
Setting custom white balance is essential for achieving ideal color consistency in outdoor photography. First, we’ll need a white balance card or a large piece of white paper that we can place in the scene under the same outdoor lighting as our subject. Ensuring it’s evenly lit without shadows is vital.
Next, we access our camera’s menu and select the “Custom White Balance” option. After capturing a correctly exposed photograph of our white reference, we confirm it fills the frame properly. We’ll then choose that image as our white balance reference in the settings. Finally, we switch from auto to custom settings. Now we’re ready for beautiful, consistent colors in our outdoor shots!

Avaett Anniversary Celebration Offer: Join our celebration! Purchase any Avaett product and reach out to us at [email protected] to learn how to get one of these exciting accessories: a Selfie Stick, or a Second Digital Camera.

Every little detail matters. 45.7MP. Powerful AF performance. NIKKOR Z lenses. Intuitive functionality. The most sophisticated tool for high resolution imaging.
![Lightdow 12 x 12 Inch (30 x 30 cm) White Balance 18% Gray Reference Reflector Grey Card with Carry Bag [Folded Version]](https://m.media-amazon.com/images/I/31GeGGNhEvL._SL500_.jpg)
Gray side: Reflectance 17.8%; Density 0.74
Adjusting Kelvin Temperature for Outdoor Conditions

Adjusting the Kelvin temperature for outdoor conditions considerably enhances our ability to capture images that reflect the natural hues of the environment. For sunny days, setting our cameras between 5000K and 5500K provides a neutral daylight balance. When we shoot in overcast skies, Kelvin adjustments between 6000K and 7500K help counter cooler, bluish tones. In shaded areas, adjusting to 7000K-8000K is essential to avoid overly blue images. During the golden hour, lowering the Kelvin below 5500K adds warmth, closely mimicking natural sunlight. Remember, these settings depend on the specific outdoor lighting we’re dealing with, so it’s wise to adjust incrementally and review our images to get that perfect capture.
Practical Tips for Effective White Balance Outdoors
When we’re out capturing the beauty of nature, ensuring accurate white balance can greatly enhance our photos. A quick way to achieve this is by using a neutral white or grey card for calibration, placing it in your current lighting condition. This fills your frame before taking a reference shot.
We should also leverage manual white balance settings. Adjusting the Kelvin temperature manually allows us to fine-tune color temperature based on changing daylight conditions, such as warm tones during sunrise. Don’t forget to monitor the environmental impact of shadows or reflections that may alter how colors appear. Remember, capturing RAW files lets us refine white balance in post-processing, ensuring we get the best results every time.
Benefits of Proper White Balance in Photography
Capturing stunning photographs hinges considerably on achieving the right white balance, which brings numerous benefits to our work. By ensuring accurate color perception, we can evoke the genuine mood of any scene, whether it’s the warmth of a golden sunset or the coolness of deep shade. Proper white balance helps us maintain color accuracy across varying lighting conditions. This is especially essential in product and portrait photography, where realism is critical. Additionally, it enhances visual appeal and reduces distracting color casts, allowing the subject to shine. Ultimately, consistent white balance elevates the professionalism of our portfolio, ensuring that our images resonate authentically with viewers and meet client expectations.
Analyzing and Adjusting White Balance in Post-Processing
In our digital age, mastering the art of white balance analysis and adjustment during post-processing can greatly elevate our photographic outcomes. Tools like Adobe Camera RAW and Lightroom offer convenient sliders to quickly address color casts. By utilizing the white balance dropper tool on neutral areas, we can guarantee our RGB levels balance out effectively.
Engaging in histogram analysis allows us to identify subtle color imbalances, guiding our adjustments towards a more natural look. For further refinement, the ‘Match Color’ feature in Photoshop can neutralize unwanted color casts. We should always compare our edits, viewing before-and-after images to confirm that adjustments maintain realism without overcorrection. With patience and practice, these techniques will enhance our overall image quality.
Enhancing Creative Control With White Balance Settings
To enhance our creative control in photography, understanding how to manipulate white balance settings becomes essential. By adjusting the color temperature and tint, we can evoke specific moods and emphasize our creative expression. For instance, using a warm balance can create a sense of intimacy, while a cooler tone can instill calmness. When we set custom white balance using a grey card outdoors, we achieve accurate color rendition, reducing the need for extensive post-processing. It also opens up possibilities for artistic effects—like intentionally warmer sunsets for dramatic impact. Ultimately, these adjustments allow us to control the emotional impact of our images, ensuring our creative vision shines through every photograph we take.
Frequently Asked Questions
Can I Use Any White or Grey Card for Calibration?
We can’t just use any white or gray card for custom calibration techniques. The card material affects accuracy; only 18% gray cards guarantee reliable results, avoiding issues like color casts that other materials might create.
How Does White Balance Impact Skin Tones in Portraits?
Like a painter mixing colors, we find that white balance greatly influences skin tone accuracy in portraits. Correcting portrait lighting guarantees natural hues, steering clear of unnatural casts that can distort our beautiful subjects’ appearances.
Does White Balance Affect Video Recording Settings as Well?
Absolutely, white balance affects our video recording settings greatly. By managing color temperature, we can enhance color accuracy, ensuring our footage captures realistic tones. Proper white balance truly impacts the overall quality and mood of our videos.
What Is the Difference Between Shooting RAW and JPEG Regarding White Balance?
Think of white balance like seasoning in cooking—it can make or break image quality. When we shoot RAW, we enjoy flexible adjustments; JPEGs, however, lock in our choices, limiting our creative vision and potential for perfection.
How Can I Quickly Adjust White Balance in Changing Light Conditions?
When light changes quickly, we can rely on our camera’s auto adjustment feature and light meter. It helps us achieve more accurate colors by adapting to the surrounding light, ensuring consistent results in our photography.