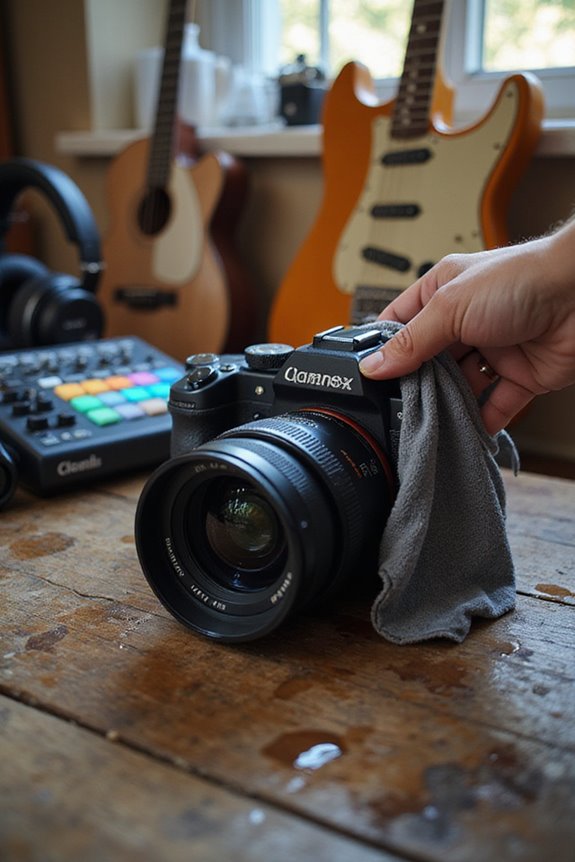
To use double exposure in camera, we start by either shooting on film or utilizing our digital camera’s multiple exposure mode. With film, we can reload and manually prevent film advancement for layered effects. For digital, we access settings to blend images using various modes like additive or average. We should focus on lighting consistency and strong compositions to enhance our visuals. If you’re interested in effective techniques and tips, let’s explore further to enhance our double exposure skills.
Key Takeaways
- Enable the “Multiple Exposure” setting in your digital camera’s menu for easy layering of images.
- For film cameras, manually stop film advancement after each shot for controlled double exposures.
- Underexpose each photograph by half to prevent overexposure when combining images.
- Utilize blending modes like ‘Screen’ or ‘Overlay’ during post-processing for effective image merging.
- Plan composition by ensuring consistent lighting and strong silhouettes to enhance the final image’s narrative.
Understanding the Basics of Double Exposure
Double exposure isn’t just a fun technique; it’s a powerful way to tell stories visually. By layering two images within one frame, we create striking composites that can communicate complex narratives. To grasp double exposure, we need to investigate its theoretical foundations and artistic influences. This method pairs well with themes like double portraits, allowing us to depict contrasting or complementary aspects of our subjects. It’s essential to understand how light interacts between exposures, as this impacts our final image. We can achieve double exposure through thoughtful planning or experimentation, resulting in unique visuals that challenge our creativity. As we explore technique, let’s keep these principles in mind for effective storytelling.
Film Camera Techniques for Double Exposure
When we explore film camera techniques for double exposure, it’s vital to understand how to effectively layer images while maintaining creative control. One effective method involves reloading and reshooting the entire film roll. After shooting, we rewind the film completely before marking the film leader for precise film alignment. This guarantees we overlap the frames accurately for our second exposure pass.
To prevent overexposure, we must make exposure adjustments. Typically, underexposing each shot by half helps balance the combined exposure effectively. For multiple exposures, we can lower the exposure proportionally. By utilizing cameras with built-in multiple exposure features or by manually preventing film advancement, we encourage creative experimentation in our photography—leading to impressive results.
Utilizing Multiple Exposure Mode in Digital Cameras

As we explore utilizing multiple exposure mode in our digital cameras, it is vital to recognize how this feature can open up creative possibilities in our photography. Many of us can find the “Multiple Exposure” setting in our camera menus, often located under the creative or shooting options.
To start, let’s navigate to the shooting menu and configure the number of exposures, typically between two and ten. We can utilize different blending modes like additive or average for unique image blending. It’s essential to think about our composition strategies when framing the second photo, as their combination yields differing effects.
Familiarizing ourselves with camera settings, practicing, and experimenting with various subjects will elevate our creative techniques and outcomes.
Post-Processing Techniques for Double Exposure
Post-processing techniques for crafting double exposures can truly elevate our photography, allowing creative vision to come to life. First, let’s manage our layers effectively. Using software like Adobe Photoshop or GIMP, we import our images and work on them in separate layers. We can isolate the subject using the pen tool or selection tools for precise masking. Next, we place our second image on a new layer. To merge our images, we can explore blending modes like ‘Screen’ or ‘Overlay’ and adjust opacity for a subtle effect. Don’t forget to fine-tune image exposure and contrast to harmonize the layers. By experimenting with these techniques, we unlock our artistic potential, creating stunning visual narratives.
Tips for Planning Your Composition
Planning your composition is vital for achieving impactful double exposures, especially since the interplay of images can either enhance or dilute your message. We should begin by analyzing the lighting conditions in both scenes to guarantee they complement each other, avoiding overexposure or underexposure. To maintain composition harmony, let’s use strong silhouettes for one exposure while adding texture to the other. We can think about negative space to keep the composition clean and prevent clutter. It’s also essential to pre-visualize how our images will overlap, perhaps using the camera’s frame preview feature, guaranteeing key details stand out. By employing these layering techniques, we can create visually interesting double exposures that communicate our intended message effectively.
Choosing the Right Subjects for Layering
Choosing the right subjects for layering can greatly elevate our double exposure compositions. Effective subject selection begins with clear structures like trees or buildings, which provide strong silhouettes and maintain image clarity. Next, we should look for complementary patterns, such as flowing textures from clouds or foliage that enhance visual harmony.
Incorporating dynamic elements, like moving figures, can also add energy while guaranteeing they don’t compete with the static subjects. This balance helps create narrative depth and emotional resonance. In addition, exploring symbolic pairings—like contrasting nature with architecture—can add layers of meaning. Prioritizing textural contrast and structural integrity guarantees pleasing results while maximizing the potential of our layering techniques!
Exposure Control and Technical Considerations
Mastering exposure control is crucial for achieving stunning double exposure images, and it starts right at the camera level. We should aim to underexpose each shot by 1-2 stops using exposure compensation settings, like setting our camera to -1 stop. This prevents overexposure when the images combine. If we’re shooting film, doubling the ISO can simulate similar underexposure. When we use the built-in multiple exposure modes on our cameras, we can explore adjusting blending parameters to determine layer dominance. Remember, consistent exposure across our shots guarantees detail retention and a visually harmonious final image. Additionally, relying on live view or external light meters can help manage exposure accuracy, enhancing our overall creative process.
Experimenting With Blending Modes
Experimenting with blending modes opens a world of creative possibilities in our double exposure work. By trying different blending variations, we can yield unique and stunning creative outcomes. For example, using the Bright/Light blend mode can enhance lighter tones, yielding ethereal effects, while the Darken blend mode emphasizes moody silhouettes and dramatic contrasts.
The Average blend mode, on the other hand, balances colors and details from both images, making it ideal for harmonious blends. We can also highlight specific textures or outlines by strategically choosing which mode to apply. Ultimately, understanding these blending modes helps us create impactful images that tell compelling stories, offering endless avenues for artistic expression.
Creative Applications of Double Exposure
When we explore creative applications of double exposure, the possibilities seem endless. We can blend surreal landscapes with intimate portraits, transporting viewers into ethereal worlds. This technique invites deep engagement as hidden narratives emerge within our images. By overlaying elements, we can convey emotional storytelling; imagine a stormy sky over a person’s face to symbolize turmoil or joy.
Playful juxtapositions, like placing animal heads on humans, inject lightheartedness into our work. It’s all about discovering unexpected combinations. With dynamic compositions merging cityscapes and nature, we redefine reality. Double exposure’s versatile applications span fine art, editorial, and conceptual genres, allowing us to tailor our vision in post-processing, creating impactful and memorable visual experiences.
Common Mistakes to Avoid in Double Exposure Photography
Double exposure photography opens the door to stunning visual storytelling, yet we often encounter pitfalls that can undermine our creative vision. One common mistake is failing to address lighting inconsistencies; merging images with differing light can create a disjointed final piece. Similarly, alignment issues are vital—poorly aligned elements can lead to cluttered effects. When it comes to blending techniques, we shouldn’t overdo opacities, as they can overwhelm the base image. Contrast adjustments are necessary too; without them, details may blend into obscurity. Finally, practicing editing moderation is essential to avoid a synthetic look that detracts from our work. By being mindful of these common pitfalls, we can enhance our double exposure photography with greater finesse.
Frequently Asked Questions
Can Double Exposure Be Used in Video Production?
Absolutely, we can use double exposure in video production! This technique enhances our creative storytelling by merging visuals and themes. It’s a powerful tool for creating compelling narratives and emotional connections in our projects.
How Do I Choose Contrasting Images for Double Exposure?
When we’re choosing images, we need to focus on theme coherence. Selecting contrasting subjects with distinct boundaries enhances impact, creating a harmonious blend that tells a compelling story without overwhelming the viewer’s eye.
Is Double Exposure Suitable for Black and White Photography?
Is double exposure suitable for black and white photography? Absolutely! We can harness artistic expression through this method, allowing contrasts and tonal ranges to create compelling, moody images that captivate and evoke deep emotions.
What Editing Software Is Best for Double Exposure Effects?
When exploring the best editing software for double exposure effects, we’ve found that Photoshop features offer extensive control, while GIMP tools provide a free alternative. Both enable creative transformations to elevate our photographic visions.
Can I Create Double Exposure With Smartphone Apps?
Yes, we can create enchanting double exposure effects using smartphone techniques! App recommendations like PhotoDirector and YouCam Perfect make it easy, allowing us to blend images creatively and enhance our photos in just seconds.

