As an Amazon Associate, we earn from qualifying purchases. Some links may be affiliate links at no extra cost to you. Although our opinions are based on curated research, we haven't used these products. Articles generated with AI.

How to Master White Balance Settings
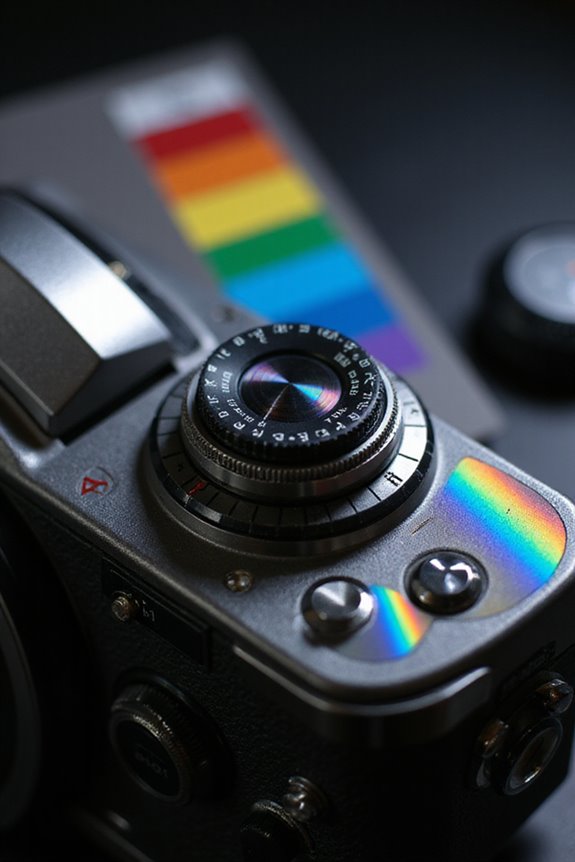
To master white balance settings, we should start by understanding its importance in achieving realistic colors. Using presets like Daylight for outdoor shots or Tungsten for indoor lighting can simplify this process. For accuracy, we can set up a custom white balance with a neutral gray card under the same lighting conditions. Remember to shoot in RAW format for easy adjustments later. Let’s explore how Kelvin values influence color temperature as we refine our techniques further.
Key Takeaways
- Familiarize yourself with white balance presets to quickly adapt to different lighting conditions, ensuring accurate color representation.
- Use a neutral white or gray card to set custom white balance for precise color capture in varying environments.
- Experiment with the Kelvin scale to understand how color temperature affects the mood and tone of your images.
- Shoot in RAW format to allow for greater flexibility in adjusting white balance during post-processing without sacrificing image quality.
- Avoid mixed light sources to simplify white balance adjustments and achieve more consistent color accuracy in your photographs.
Understanding White Balance and Its Importance
You may be interested


White balance is the unsung hero of photography, guaranteeing that our images reflect the world as we see it. It adjusts our photos to accurately represent colors, counteracting color casts caused by various lighting conditions. For instance, a sunset might cast warm hues, while fluorescent lights can create a cooler tone. By calibrating white balance, we confirm neutral colors—like white, gray, and black—don’t appear tinted. This adjustment is vital for achieving realistic images, especially in fields like product photography or journalism. When we get white balance right, it not only enhances the visual quality but also streamlines post-processing, saving us time and effort. Let’s embrace this essential tool to elevate our photography skills!
Exploring White Balance Presets
When we think about capturing accurate colors in our photographs, utilizing the right white balance preset can make a significant difference. By observing our lighting conditions, we can select presets that best match the environment. For example, the Daylight preset works wonders for outdoor shooting in bright sunlight, while the Tungsten preset adjusts for indoor lighting from traditional bulbs.
Experimentation techniques are key; trying different presets allows us to see how they affect color temperature and mood creation. The Fluorescent preset neutralizes greenish tints, enhancing indoor shots, while the Cloudy preset adds warmth on overcast days. Remember, consistent use of presets across similar environments helps achieve uniformity in our photographs, ensuring we capture the essence of each moment accurately.

5600k Daylight: Aputure Amaran 60D S 65W DAYLIGHT Led Video Light (Amaran 60D Upgrade Version),improve spectral consistency index and light quality.CCT:5600K,CRI:≥96,TLCI:≥99,CQS:≥95,TM-30 RF (Avg.):96,TM-30 RG (Avg.):100,SSI (D56):86

【Comprehensive Camera & Lens Control】 - The AODELAN ZC-4 Camera Remote offers precise control over essential camera settings, including recording, display, shutter speed, and white balance. It supports manual focus (5 levels), iris control (3 levels), zoom control (3 levels), and ND filter adjustments for optimal exposure. For cameras with an electronic ND filter, the remote includes a dedicated knob for easy density control, simplifying complex lighting conditions.

LARGE & ADJUSTABLE BRIGHTNESS - The big ring light features a 18" outer diameter and 60W power. Soft yet powerful, it helps you finely capture vivid details in makeup, selfies, shooting, etc. The brightness adjustment ranges from 0% to 100%, empowering your limitless creation.
How to Set Up Custom White Balance
Setting up custom white balance is an invaluable skill for any photographer looking to enhance color accuracy in their images. To start our custom setup, we should place a neutral white or grey card in the same lighting as our subject. Once that’s done, we’ll fill the frame with this reference image and capture it, without saving it for later. Next, we’ll navigate to our camera’s menu, select the custom white balance option, and choose the reference image we just captured. After confirming our selection, our camera will adjust to the lighting conditions, ensuring our photos display vibrant and accurate colors. Remember, we should always update our reference image whenever lighting conditions change for the best results.
PRODUCT PARAMETER: Wire Length: 50FT Red and 50FT black color-coded wire. Wire Gauge: 12 gauge. Material: Copper clad aluminum(CCA) wire. Voltage: DC 5V, 12V, 24V. Rugged flexible environmental PVC Jacket with great elasticity and fire resistance.
![Lightdow 12 x 12 Inch (30 x 30 cm) White Balance 18% Gray Reference Reflector Grey Card with Carry Bag [Folded Version]](https://m.media-amazon.com/images/I/31GeGGNhEvL._SL500_.jpg)
Gray side: Reflectance 17.8%; Density 0.74

A. W. G.: 22-16 0. 5-1. 5mm²/ 16-14 1. 5-2. 5mm²/ 12-10 4-6mm²
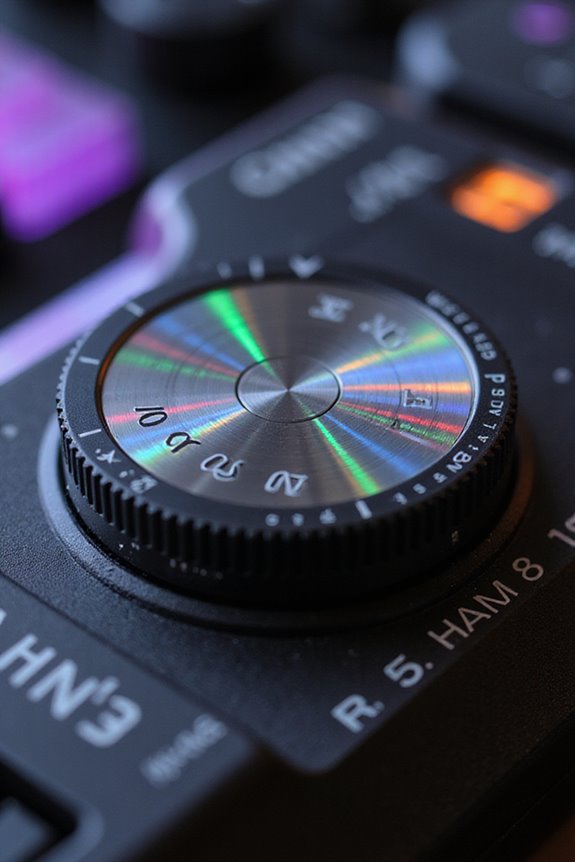
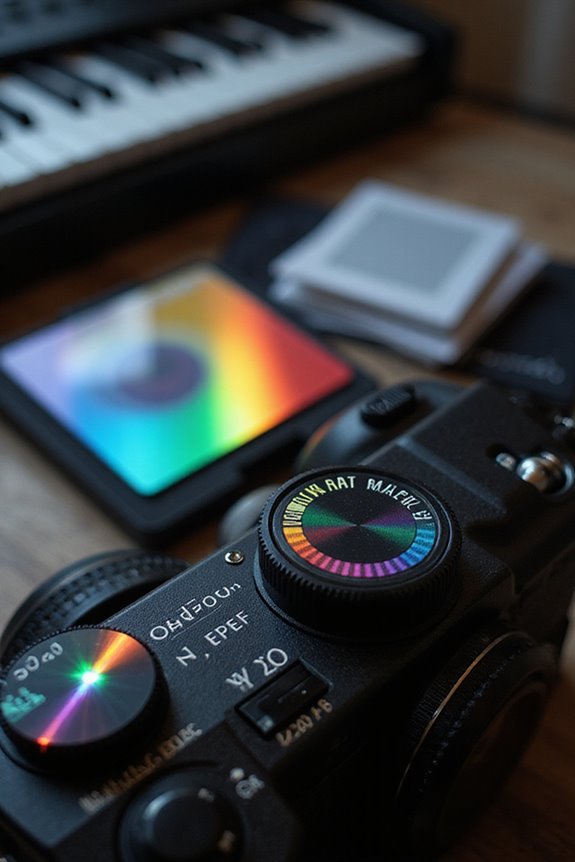
The Kelvin Scale and Color Temperature
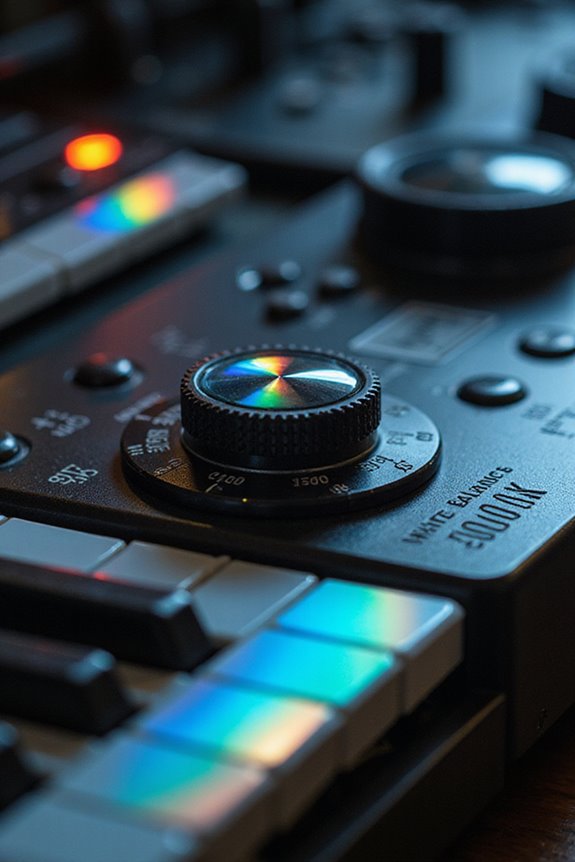
Color temperature is a fundamental concept in photography that greatly impacts the way our images are perceived. Using the Kelvin scale, we can classify light sources based on their color characteristics. For example, warm tones range from 1,000 to 3,500 K, perfect for cozy scenes, while neutral tones of 4,000 to 6,500 K offer realism in everyday images. On the cooler end, 6,500 to 10,000 K evokes calmness, ideal for landscapes. Understanding these distinctions helps us accurately adjust our cameras to match the scene’s color temperature, ensuring our photographs convey the intended mood and atmosphere. With the right Kelvin settings, we can enhance our creative expression and achieve stunning, lifelike images.
Adjusting White Balance for Different Scenarios
Adjusting white balance can considerably enhance our photography, particularly as we encounter varying lighting conditions. For outdoor lighting, we typically set our cameras to daylight (around 5600K) for clear, sunny days. On cloudy days, increasing the setting to 6000K–6500K helps eliminate the cool blue tones. When shooting indoors, we adjust for indoor lighting by using 3200K for tungsten bulbs or the fluorescent preset at about 4000K to neutralize harsh colors. In mixed lighting situations, relying on auto WB can lead to inconsistent results; instead, we might prefer manual settings to guarantee accurate color representation. Remember, these adjustments help us achieve more vibrant and true-to-life images in any scenario.

【POWERFUL RGB VIDEO LIGHT】Equipped with 552pcs SMD LED beads (156pcs white/156pcs warm/240pcs RGB beads) . 2600K~10000K color temperature, 0~100% dimming range,360° RGB colors. And ultra-high CRI 97+ helps to restore and enrich the color light object, providing you a natural and vivid shooting effect, perfect for vlogging, portraits, weddings, product photography, video gaming, ect.
AVKANS NDI PTZ Camera Package includes 2 pcs 20 NDI PTZ Cameras LV20N and 1 pcs Super IP Joystick Controller. Official 20X Auto tracking NDI Camera bundel for Church Live streaming and Worship, Live Event, School, Brocasting and other video recording and streaming.

【Edge Emitting Technology】 The UBeesize full-screen ring light utilizes edge emitting technology to create soft, even lighting that beautifully enhances facial contours and skin texture while effectively reducing glare.
Best Practices for Achieving Accurate White Balance
Achieving accurate white balance is essential for capturing images that truly reflect the scene as we see it. One of the best practices we can adopt is using a neutral reference, like a white or mid-gray card. By photographing this card under the same lighting conditions as our subject, we can set a custom white balance that compensates for tricky lighting. This technique enhances our workflow consistency, ensuring reliable results across shoots. Additionally, we should shoot in RAW format to preserve image quality, allowing for easy adjustments later. Finally, avoiding mixed light sources will simplify our white balance processes. By implementing these strategies, we can markedly elevate the accuracy of color in our photography.
The Role of Post-Processing in White Balance Adjustments
When we immerse ourselves in post-processing, we access a world of flexibility that can greatly enhance our white balance adjustments. Utilizing post-processing techniques, especially in software like Adobe Lightroom and Photoshop, allows us to correct color casts that might not have been perfect in-camera. With intuitive color correction tools, we can fine-tune temperature and tint sliders for precision, ensuring that our images reflect the intended mood. For example, using the dropper tool on neutral areas can automatically adjust white balance, saving us time and effort. Additionally, maintaining consistency across multiple images becomes easier, especially in varying lighting conditions. Embracing these practices will elevate our photography to new heights.
Frequently Asked Questions
How Does White Balance Affect Skin Tones in Portraits?
When we consider how white balance affects skin tone accuracy in portraits, we must remember that proper settings enhance portrait lighting, ensuring natural hues shine through, while incorrect adjustments can distort and diminish the subject’s true complexion.
Can White Balance Be Adjusted in Video Recordings?
Yes, we can adjust white balance in video recordings during editing. Using color grading tools, we fine-tune the colors for a more accurate representation, ensuring our footage looks professional and visually appealing.
What Tools Can Help Measure Color Temperature Accurately?
When we seek the perfect hues, color temperature meters and white balance cards become our guiding stars. They help us dance through lighting conditions, ensuring our images sing with vibrant, true-to-life colors every time.
How Do Different Cameras Handle White Balance Differently?
Different camera brands utilize varying sensor technology, impacting how they handle white balance. Some offer extensive presets and manual options, while others may rely on less accurate automatic settings, leading to inconsistent results across models.
Is It Possible to Fix White Balance Issues After Shooting?
Yes, we can fix white balance issues after shooting using various post-processing techniques. Though it’s best to get it right in-camera, effective white balance correction can salvage images and enhance their overall quality.