As an Amazon Associate, we earn from qualifying purchases. Some links may be affiliate links at no extra cost to you. Although our opinions are based on curated research, we haven't used these products. Articles generated with AI.
Exposure Compensation In Difficult Light
When we’re faced with tricky lighting, exposure compensation becomes our best friend. For instance, in backlit scenes, a negative adjustment helps prevent silhouettes, while shooting snow often needs positive compensation to avoid dull images. By understanding how various camera modes interact with compensation settings, like using Aperture Priority or Shutter Priority, we gain greater control over our results. Mastering this technique enhances our ability to create the perfect shot, especially in challenging conditions. There’s much more to explore on this topic!
Key Takeaways
- Exposure compensation allows photographers to adjust brightness in challenging light, enhancing image quality and detail.
- Negative compensation is key for backlit subjects to avoid silhouettes, while positive compensation helps maintain brightness in snowy scenes.
- Understanding camera modes, like Aperture or Shutter Priority, aids in effective exposure adjustments tailored to lighting conditions.
- Analyzing histograms helps prevent highlight clipping and preserves shadow details, ensuring balanced exposure in difficult lighting.
- Utilizing exposure compensation fosters creativity, allowing photographers to control mood and artistic effects in their images.
Understanding Exposure Compensation
You may be interested


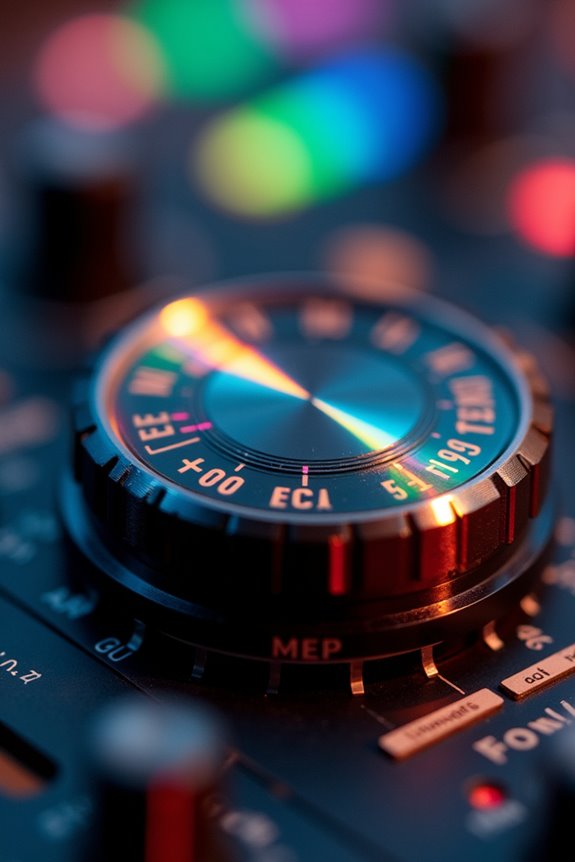
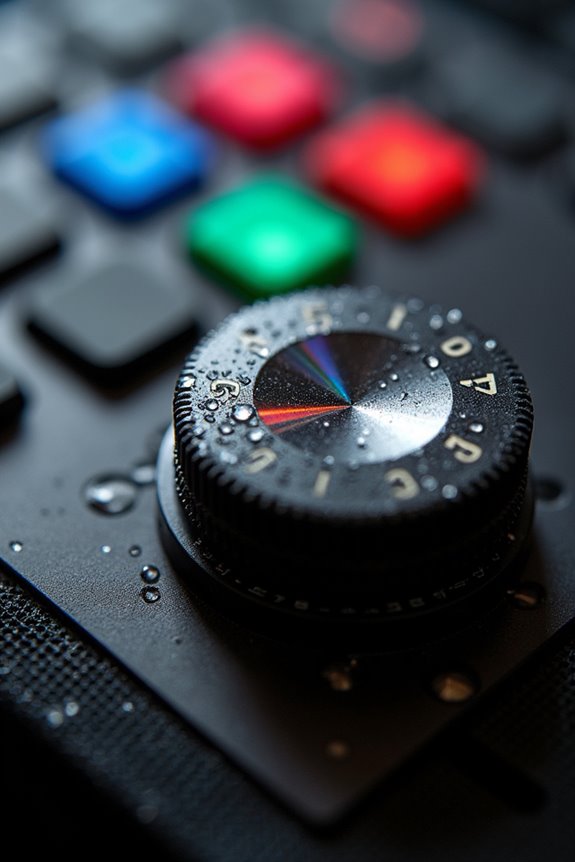
When we’re out shooting in challenging light conditions, understanding exposure compensation becomes essential for capturing the best images. This technique allows us to make exposure adjustments, often necessary when our camera’s automatic settings can’t handle high contrast scenes effectively. By using the manual override feature, we can increase or decrease exposure, fine-tuning our results in increments of third or half stops.
Many cameras even have dedicated dials for this purpose, making adjustments quick and intuitive. For instance, in aperture priority mode, adjusting compensation directly modifies shutter speed, ensuring our images reflect our creative intent. By mastering exposure compensation, we gain control over brightness and contrast, ultimately enhancing our photography skills and image quality.
Common Scenarios Requiring Compensation
In challenging lighting situations, we often find ourselves needing to adjust our exposure settings to achieve ideal results. For instance, when photographing backlit subjects, our camera meters may overexpose, so applying negative compensation can create striking silhouettes.
In snow photography, reflective surfaces can mislead our meters, requiring positive compensation to maintain the snow’s brightness without it appearing gray. In scenes with a wide dynamic range, like urban landscapes at sunset, we might need to prioritize either highlights or shadows to preserve detail.
When shooting wildlife or dark subjects, positive compensation helps brighten them, while negative compensation is essential for light subjects to avoid overexposure. Each scenario demands careful tweaks for best results.

AD200PRO Features Interchangeable Flash Heads: Flexibly Snap in the Exciting Round Head(NOT Included) with Superior Clean Light Spread, the Speedlite-Styled Fresnel Head(GN52, Direct-Focused Beam) and Bare-Bulb Head (GN60, Omni-Directional Beam)
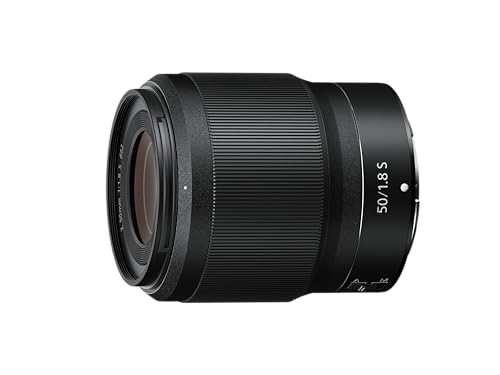
Fast 50mm prime for Z Mirrorless cameras

- Revolutionizing Aerial Videography: Introducing the Freewell Dual Focal Length Split ND 4-Pack Filter Kit for Air 3, engineered to tackle the unique challenges of two focal lengths and varying apertures, offering ultimate exposure control.
Camera Modes and Their Impact on Compensation
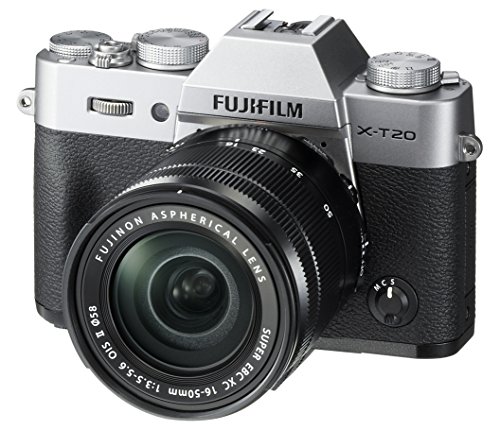
Understanding how different camera modes influence exposure compensation is essential for effectively maneuvering through challenging lighting conditions. In Aperture Priority Mode, we set the aperture while the camera adjusts the shutter speed. This allows us to fine-tune exposure by dialing compensation, either speeding up for darker images or slowing down for brighter ones. Conversely, in Shutter Priority Mode, we control the shutter speed, adjusting the aperture for exposure corrections. Program Mode offers a blend, letting the camera choose settings while we apply exposure adjustments. However, in Manual Mode, compensation isn’t applicable since we’re manually setting both parameters. Familiarizing ourselves with these camera modes enhances our ability to make quick, effective exposure adjustments, especially in tricky lighting.

Putting Stability in Your Hands: A huge part of creating great photos or videos is making sure you are in the right place at the right time – and that often means making handheld images to get to the heart of the action. X-T4’s state-of-the-art, five-axis In-Body Image Stabilization (IBIS) provides up to 6.5 stops of image stabilization to make sure that, even in the midst of all the excitement, your images remain steady and sharp. Combine this with the new four-axis Digital Image Stabilizer, and you have lots of room to maneuver.
24.3MP X-Trans CMOS III APS-C sensor with no low-pass filter and X-Processor Pro

24.3MP APS-C X-Trans CMOS III sensor and high-performance x processor Pro high-speed image processing engine to deliver outstanding color Reproduction and gradation of Tones in both stills and video
Technical Aspects of Exposure Compensation
Mastering exposure compensation is a game changer for capturing images in challenging lighting. By adjusting the exposure value set by our camera’s light meter, we can counteract the limitations of metering techniques that often misinterpret high-contrast scenes. For instance, positive compensation can lighten an image in backlit situations, while negative compensation darkens overly bright scenes.
Using histogram analysis, we can visually assess our exposure; a balanced histogram indicates neutral exposure, while clipping on either end signals potential detail loss. Monitoring this during adjustments helps us avoid common pitfalls, ensuring we capture the full tonal range. With practice, we’ll find the right controls on our cameras, enabling fine-tuning in fractional stops for ideal results. Additionally, understanding color temperature range is crucial for achieving the most accurate representation of light in our images.
Practical Applications in Photography
When we find ourselves in challenging lighting situations, knowing how to effectively apply exposure compensation can dramatically enhance our photography. For instance, snowy landscapes often require us to dial in positive EV values (+1 or +2) to prevent underexposure. Conversely, dark subjects against shadowy backgrounds may need negative EV adjustments (-1 or -1/3) to avoid overexposure.
We can also employ creative techniques like using spot metering combined with exposure compensation, allowing us to focus on our primary subject. In low-light settings, adjusting ISO alongside compensation strategies helps maintain quality. By evaluating histograms post-shoot, we guarantee our exposure choices yield the desired results, keeping our photography sharp and well-balanced. Additionally, utilizing enhanced low-light performance features can improve image quality in dim environments.

Standard mount adapter allows EF/EF-S Lens compatibility with the EOS R camera system, including the EOS R, EOS RP, EOS R5, and EOS R6

Mini Flash, Pro Results: Godox iT30 Pro flash is Godox's first mini TTL flash, compact body, powerful functionality, support TTL auto-flash, precise auto exposure, up to 1/8000s high-speed sync, front/rear curtain sync, strobe and other functions, suitable for both professional photographers and novice users

The Godox Advantage:Godox, since 1993, is a high-tech manufacturer specializing in lighting and audio equipment. Godox has been committed to providing consumers with professional and high-quality: Camera Flash; Continuous Light; Audio; Monitor; Light Shaper, and Photography Accessories. etc. It enables more people to enjoy the fun of light shaping. Godox Flash Trigger Make every whim and desire there is a direct button ready for action.
Benefits of Using Exposure Compensation
One of the key benefits of using exposure compensation is the precision it offers in exposure control. By allowing us to fine-tune our camera’s automatic settings, we can accurately match lighting conditions. This is especially helpful in high-contrast scenes or backlit scenarios, where we might need to adjust brightness without altering ISO or aperture.
Moreover, exposure compensation enhances image quality by preventing highlight clipping and preserving shadow detail, which is essential for maintaining texture. It also supports our creative techniques, enabling us to experiment with different exposure strategies for unique artistic effects. Whether we’re shooting snowy landscapes or bright reflections, this tool streamlines our workflow, ensuring we capture the desired mood and visual narrative in challenging lighting situations.
Challenges and Limitations
Despite the advantages that exposure compensation provides, we often encounter challenges and limitations that can complicate our shooting experience. Our camera metering systems, while advanced, can still be fooled by extreme brightness or darkness, leading to metering challenges. For instance, bright reflective surfaces like snow can cause overexposure, as meters average out the brightness inaccurately. Similarly, dark scenes often result in overexposure, as the camera attempts to brighten what it misinterprets as underlit. Additionally, subtle lighting nuances can necessitate precise adjustments; even minor changes can greatly impact our images. Rapid changes in lighting, such as moving between shadows and sunlight, further complicate our ability to achieve balanced exposure, often requiring us to rely on manual adjustments.
Tips for Effective Use of Compensation
How can we effectively use exposure compensation to enhance our photography in challenging lighting conditions? First, let’s make incremental adjustments, like ±0.3 or ±0.7 EV, to fine-tune our exposure without risking detail loss. In bright scenes, we can apply negative compensation to prevent overexposure, while positive adjustments help us capture shadows in backlit situations.
When capturing complex scenes, bracketing our exposures—taking a normal shot alongside compensated ones—can yield the best results. We should also rely on histogram readings post-capture to assess our adjustments. Finally, combining exposure compensation with spot metering allows for precise control, especially when our subject differs in lighting from the background. These strategies guarantee we maintain our creative shifts while achieving ideal exposure.
Frequently Asked Questions
How Does Exposure Compensation Affect RAW vs. JPEG Images?
When we think of exposure compensation, we envision delicate brush strokes on a canvas. RAW image characteristics allow us to recover details, while JPEG compression effects can leave us with muted tones and lost potential.
Can I Use Exposure Compensation in Video Recording?
Yes, we can use exposure compensation in video recording. It helps us manage video exposure and enhance dynamic range, ensuring our footage maintains consistent brightness while adapting to varying lighting conditions effectively.
What Is the Difference Between Exposure Compensation and Manual Exposure?
Imagine a painter adjusting hues on a canvas; similarly, we can manipulate exposure settings. Exposure compensation fine-tunes automatic camera modes, while manual exposure grants us complete control over every aspect of our creative vision.
How Do I Reset Exposure Compensation Settings on My Camera?
To reset our exposure compensation settings, we can use various resetting techniques like pressing dedicated buttons or managing the camera settings menu. Always check the current value afterward to verify it’s back to ±0.
Do Different Lenses Affect Exposure Compensation Settings?
Yes, different lens characteristics, like focal length, definitely affect exposure compensation settings. We’ve noticed that longer focal lengths can alter how light is metered, requiring us to adjust our compensation accordingly for accurate results.