As an Amazon Associate, we earn from qualifying purchases. Some links may be affiliate links at no extra cost to you. Although our opinions are based on curated research, we haven't used these products. Articles generated with AI.
Creating Professional Headshots At Home
Creating professional headshots at home is totally doable! First, we should invest in a good camera or even use our smartphones with proper lighting, like soft, indirect light by a window. It’s important to set up a clean backdrop and position our subject well—head and torso fill the frame nicely. Finally, basic editing enhances our images, making them pop. Continue with us to explore more tips on lighting, composition, and wardrobe choices for stunning results!
Key Takeaways
- Use a DSLR or mirrorless camera with a prime lens for high-quality images and a shallow depth of field.
- Set up your home studio with a solid color backdrop and ensure the space is organized and clutter-free.
- Utilize soft, diffused lighting from a window or softbox, positioning the light above and to the side of your subject.
- Capture a variety of angles and expressions; use burst mode to increase the chance of getting the perfect shot.
- Edit photos by adjusting color and exposure, cropping to focus on the face, and retouching for a polished look.
Equipment and Setup Essentials
You may be interested


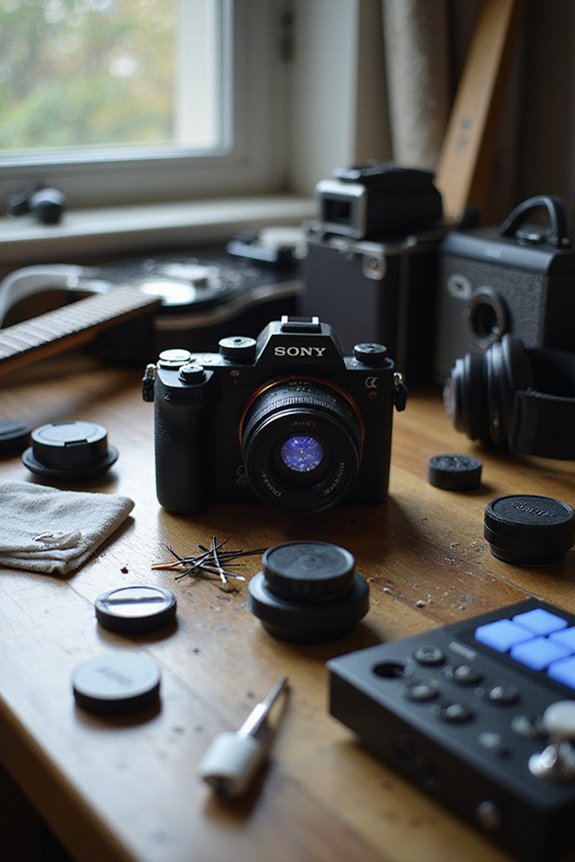
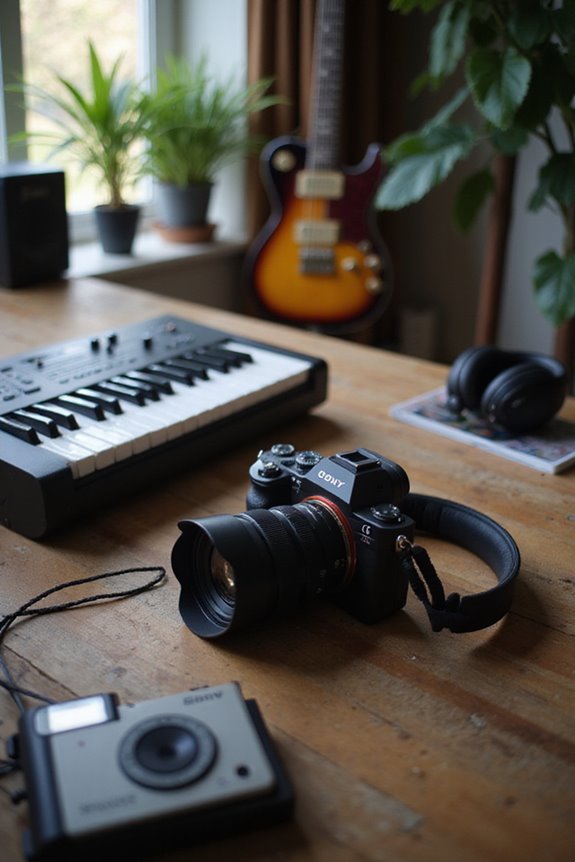
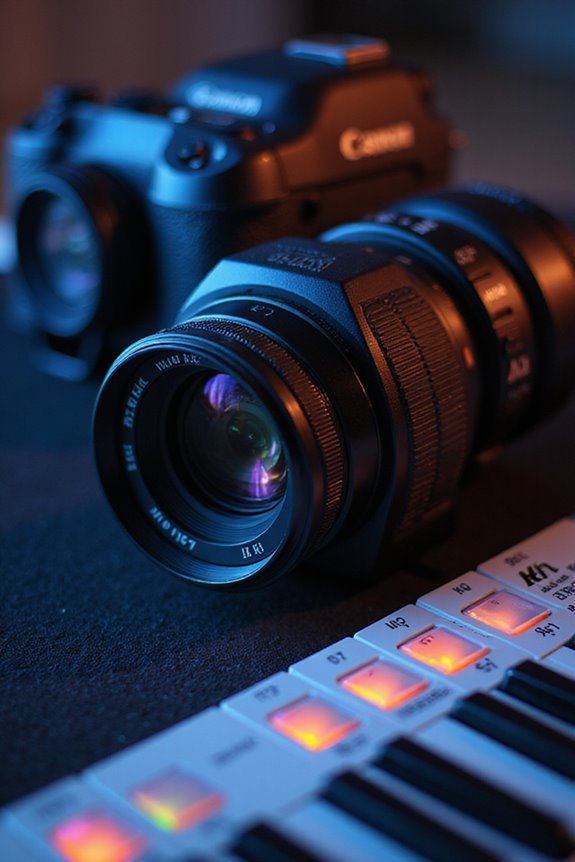
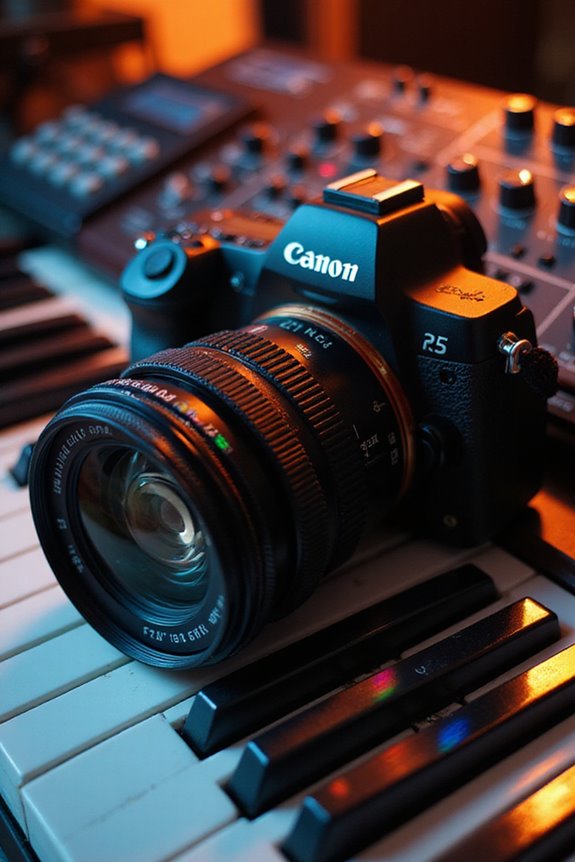
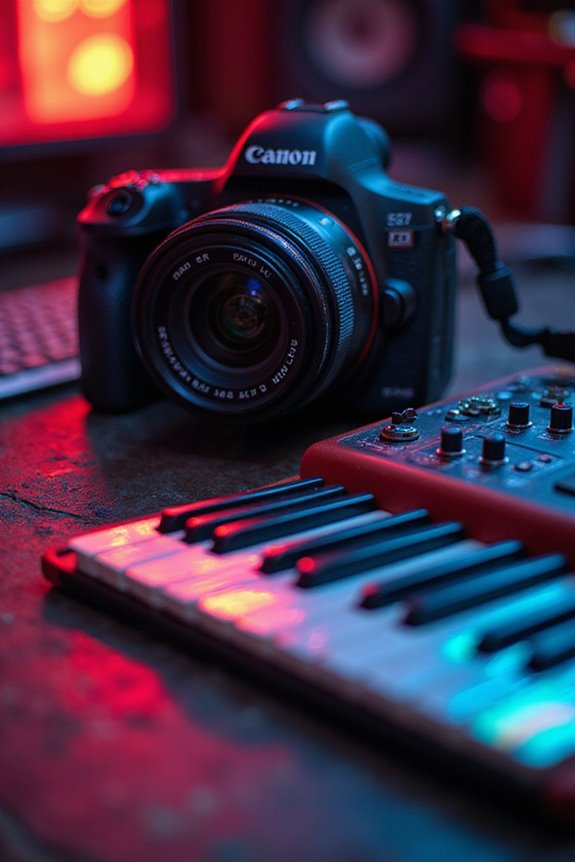
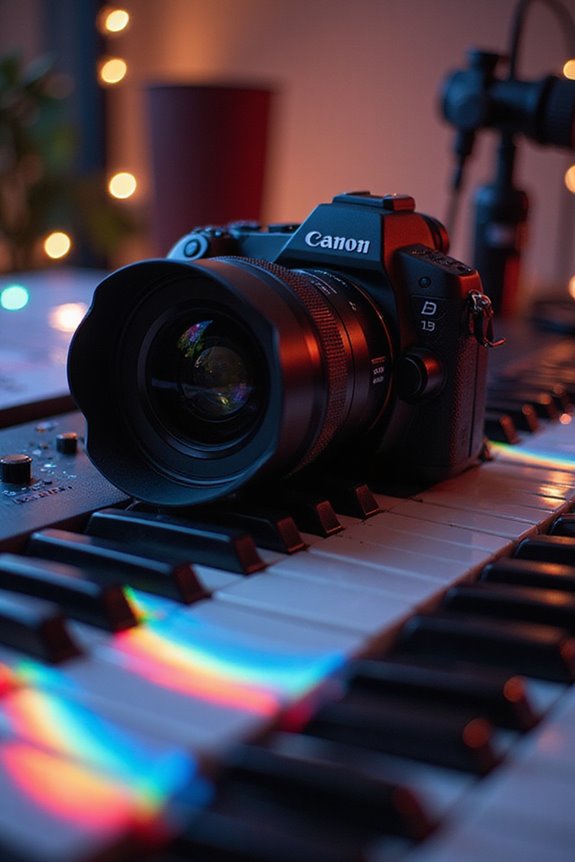
When we think about capturing stunning professional headshots at home, having the right equipment is essential. For camera selection, we recommend DSLRs or mirrorless models with at least 20 megapixels. Brands like Canon, Nikon, and Sony offer excellent options. Look for recent models that feature advanced autofocus and image stabilization to enhance results.
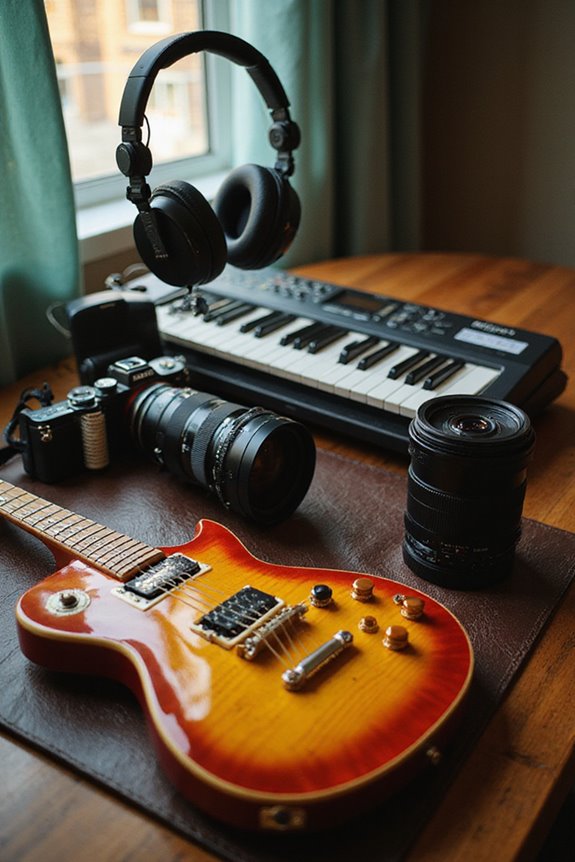
When it comes to lens options, a prime lens with a focal length of 50mm or longer is ideal. This allows us to achieve that flattering shallow depth of field, which separates our subject from busy backgrounds. A wide aperture of f/1.4 or f/2.8 will give us beautifully soft focus. With the right equipment, our home headshots can truly shine.

50 millimeter focal length and maximum aperture of f/1.8

Fast, upgraded f/1.8, compact FX format prime lens. The picture angle with 35 millimeter (135) format is 47 degree and the maximum reproduction ratio is 0.15X

Compact, Lightweight Fixed 50 millimeter Focal Length Lens.
Smartphone Headshot Tips
How can we achieve professional-quality headshots using just our smartphones? First, let’s guarantee we’re using the right smartphone settings. We should avoid direct sunlight, opting instead for soft, indirect light near a window for flattering illumination. Position the smartphone about two feet from our face, angling it slightly upward for the best perspective.
Framing is essential; let’s fill the shot with our head and torso while keeping a solid background. By varying angle variations and expressions, we can capture a range of looks. Using burst mode allows us to take multiple shots, increasing our chances of capturing that perfect moment. Remember, taking our time will yield the best results for a polished, professional headshot!
Home Studio Setup Best Practices
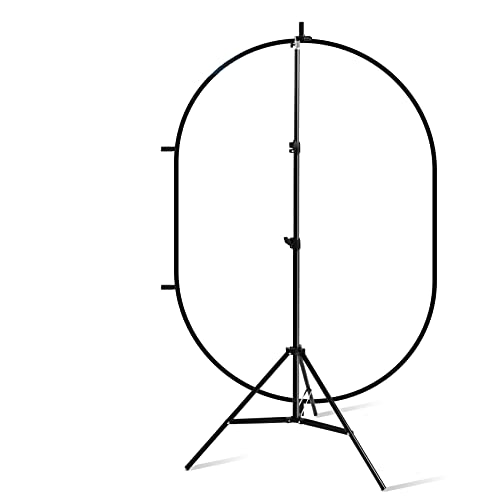
Setting up a dedicated home studio can greatly enhance the quality of our headshots, making them look more professional. First, let’s focus on backdrop selection. A solid color backdrop, like a white wall or paper, helps avoid distractions and harmonizes with our attire. Next, we need effective space arrangement; converting a room into a makeshift studio requires planning. Clear any clutter and set up necessary equipment, including stands for the backdrop and a tripod for stability. This guarantees our camera remains steady for crisp shots. Don’t hesitate to include versatile props, like chairs, for varied posing. By optimizing our space and thoughtfully selecting backdrops, we create an inviting environment for stunning headshots. Additionally, using adjustable brightness settings can help achieve the perfect lighting for our subject, enhancing the overall quality of the images.

COLOR INSPIRED: Create a warm and passionate atmosphere with the sunset terracotta orange inspirations. Elevate your vibrant fall wedding ceremony arch stand or reception decorations with Ling's exquisite wedding decor and arragement.

COLOR INSPIRED: Create a intimate and chicness atmosphere with the rust inspiration embellish of sand. Capture your romantic winter wedding ceremony backdrop or reception decorations with Ling's exquisite wedding decor and arragement.
Soft Light diffuser works good for video photo shooting, making the light softer and more uniform. Also ideal for sunny outdoor shooting to minimize harsh shadows and reflections.
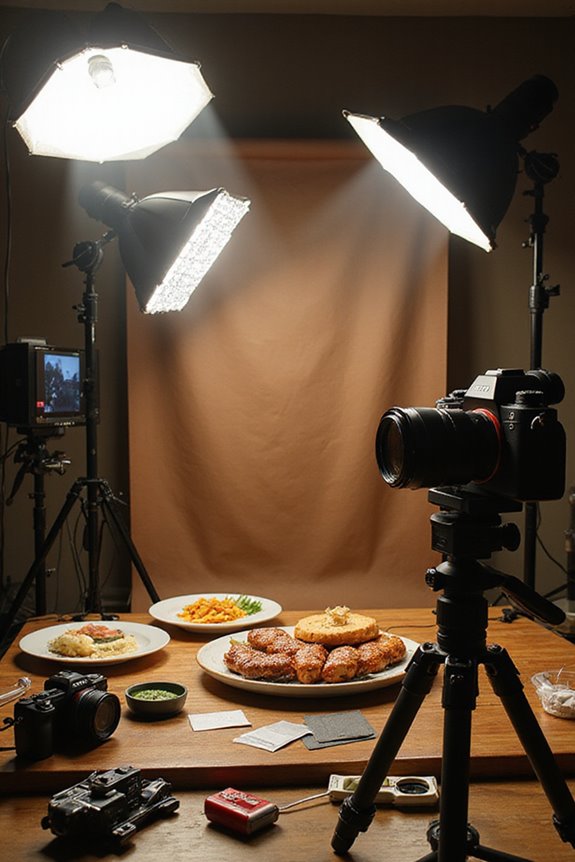
Lighting Techniques
Lighting can make or break a headshot, and we can greatly elevate our results with the right techniques. For a simple yet effective one-light setup, we recommend using a large, diffused light source like a softbox or umbrella, positioned slightly above and to the side of our subject. This lighting placement enhances facial features while managing shadows beautifully. Incorporating a reflector on the opposite side can soften those shadows even further. Additionally, using a softbox lighting kit with adjustable color temperature can provide greater flexibility in achieving the desired mood for your headshots. For a classic look, we can also consider Rembrandt lighting by placing our key light at a 45-degree angle, creating that iconic triangle on the cheek. Whichever method we choose, attention to lighting placement and shadow management will markedly impact our final results.

Natural and Wraparound Lighting Effect: The Godox UL-Octa BOX 120cm (47") octagonal softbox produces soft, evenly diffused light with a smooth falloff, delivering beautiful circular catchlights and flattering illumination—ideal for portrait, beauty, and video applications requiring professional-quality lighting.

Professional Soft Lighting: The 30x90cm (12"x35") rectangular softbox delivers natural, evenly diffused illumination, making it ideal for a wide range of applications such as fashion, still life, and live streaming.
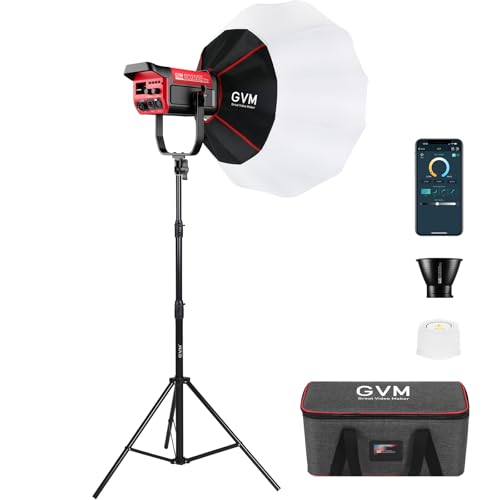
【Equipped with Lantern Softbox & Light Stand】This newly upgraded Lantern softbox of SD200B photography light is faster and easier to install, and it only takes several seconds to install.The maximum height of the tripod is 98inch, and the minimum height is 33inch, which can meet any of your needs.
Background and Composition
When we think about creating a professional headshot, the background and composition are just as crucial as lighting. It’s best to select neutral background colors—like soft grays or navy—that won’t distract from our faces. Ideally, we should frame our shot from the shoulders up, focusing on eye-level alignment with our eyes along the top third line of the frame.
Using recommended composition techniques, we can guarantee our expressions remain natural—no forced smiles here! It’s also important to keep our backgrounds simple and uncluttered, using a plain wall or fabric backdrop to simulate a studio feel. Finally, a little distance between ourselves and the background can help reduce shadows, adding a nice depth to our headshots.
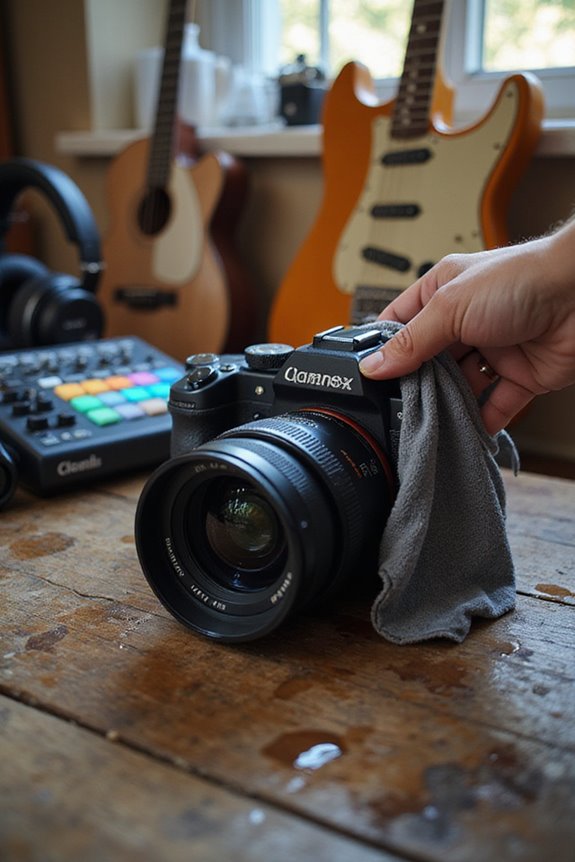
Post-Production and Editing
Once we’ve established a solid background and composition for our headshots, the post-production and editing phase is where we can really fine-tune our images. First, let’s implement basic editing techniques like color correction and exposure adjustments for true-to-life skin tones. Cropping is essential to keep focus on the subject’s face, particularly the eyes, which fosters connection with viewers. Regarding retouching guidelines, we should subtly remove blemishes while preserving natural texture; over-retouching can undermine authenticity. Finally, a clean background can enhance professionalism—consider blurring distractions or replacing backgrounds to fit your professional field. These careful adjustments will transform our headshots into polished, impactful images suitable for any platform.
Styling and Wardrobe Choices
To guarantee our headshots convey professionalism, we should start by choosing the right clothing that not only fits well but aligns with our personal or work style. Outfit coordination is essential; opting for light-colored button shirts for men or classic styles for women keeps us looking polished.
When it comes to color selection, solid mid-tone shades like navy, maroon, or deep green make us appear approachable and focused. Avoid busy patterns and loud prints that could detract from our faces. Instead, layering can add dimension and professionalism. Remember, moderately open necklines enhance our facial framing, while understated accessories should complement our outfits without overwhelming our appearance. A coordinated look reflects our personal brand and builds trust with potential clients.
Finalizing Your Headshot for Use
Finalizing your headshot is essential for making a strong first impression in professional settings. First, we need to select the sharpest photo with natural lighting, guaranteeing our faces are fully visible and free of distractions. Once we’ve chosen the right image, we can enhance it using AI-powered editing tools, correcting any blemishes while keeping a natural appearance.
Next, we should confirm our final file formats are high-resolution JPEG or PNG, suitable for both print and online use. Let’s also focus on image consistency by maintaining similar lighting and styles across multiple headshots. Tailoring our images for platforms like LinkedIn will enhance our professional brand, ensuring each photo reflects our desired image accurately and clearly on all devices. Additionally, considering the color temperature options of your lighting setup can significantly affect the overall mood and professionalism of your headshot.
Frequently Asked Questions
How Can I Practice My Posing for Headshots?
Research shows that 80% of our communication is non-verbal, so we should practice posing in front of a mirror to develop natural expressions. Let’s refine our body language and enhance our headshot game together!
What Angle Is Best for Taking a Headshot?
When considering headshot angles, we should primarily stick to eye-level shots, as they foster connection. However, experimenting with camera height can yield interesting results, emphasizing authority or approachability based on positioning.
How Do I Avoid Looking Stiff in Photos?
Don’t we all dread looking stiff in photos? To capture natural expressions, let’s embrace relaxed posture by shifting our weight, softening our faces, and practicing genuine smiles. A little confidence can make all the difference!
Should I Smile in My Headshot?
We believe smiling in our headshots can enhance our perceived competence and approachability. The benefits of a genuine smile often align well with headshot styles, making us more relatable to clients and employers alike.
Can I Use Props in My Headshot?
Can we really use props in our headshot? Absolutely, but careful prop selection and thoughtful prop placement are essential. We want to enhance our image without overshadowing our faces or detracting from our professionalism.