As an Amazon Associate, we earn from qualifying purchases. Some links may be affiliate links at no extra cost to you. Although our opinions are based on curated research, we haven't used these products. Articles generated with AI.

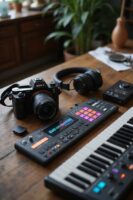
Aerial Photography Drone Camera Tips
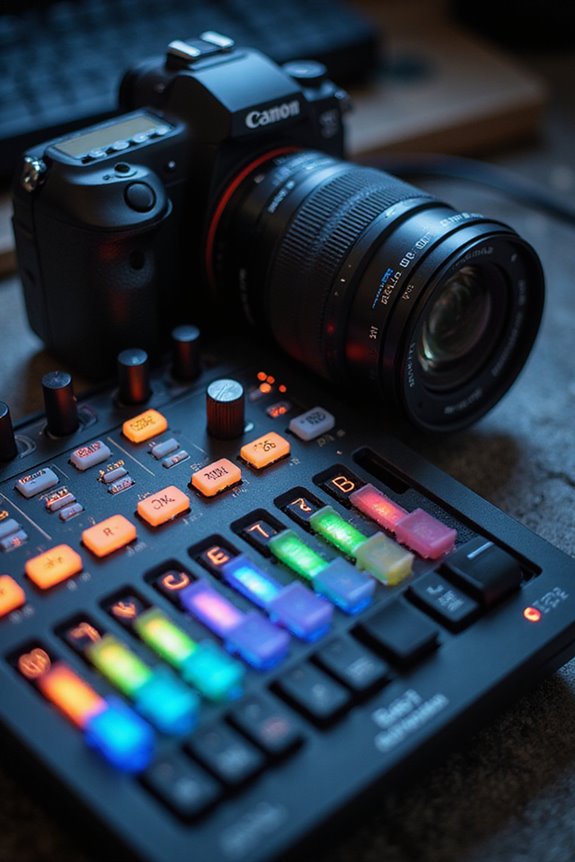
To enhance our aerial photography, we should focus on several key aspects. First, using a shutter speed between 1/500th to 1/1000th of a second helps guarantee sharp images. Opt for drones with larger sensors, like Micro 4/3, as they provide better image quality. We should also aim for 4K resolution with high frame rates for vibrant videos. Finally, before we take off, let’s conduct essential safety checks to guarantee a successful flight. Keep exploring for more valuable tips!
Key Takeaways
- Use a shutter speed between 1/500th and 1/1000th of a second to minimize motion blur in aerial shots.
- Choose a drone with a larger sensor for improved image quality, dynamic range, and color accuracy.
- Shoot in 4K or 5K resolution to ensure high-quality video for professional projects.
- Utilize high-quality gimbals for stabilization to capture sharp and steady footage, especially in challenging conditions.
- Synchronize multi-camera setups for a cohesive 360-degree view, enhancing depth perception and flight safety.
Ideal Shutter Speeds for Clear Footage
You may be interested


How can we guarantee our aerial photos are sharp and free of motion blur? The answer lies in selecting the right shutter speed. For most aerial shots, it’s best to use a shutter speed between 1/500th and 1/1000th of a second. This range effectively freezes motion, minimizing unwanted blur. If we’re using a lens around 24mm, we should avoid slower speeds than 1/50th of a second unless our drone is stabilized. Remember, environmental conditions play a significant role too. On windy days, ramping up the shutter speed guarantees we capture clear images, despite any drone shake. By controlling shutter speed, we can enhance the clarity and professionalism of our aerial photography.
Importance of Multi-Camera Synchronization
While capturing stunning aerial imagery may seem straightforward, achieving precision in our shots often hinges on the synchronization of multiple cameras. Multi-camera synchronization allows us to combine images from different angles, creating a cohesive 360-degree view that’s essential for effective spatial mapping. When sensors are perfectly aligned, we generate detailed maps vital for navigation in complex environments. Additionally, synchronized data enhances depth perception, improving obstacle avoidance and overall flight safety. This precision also supports real-time object tracking, ensuring we’re aware of our surroundings without blind spots. By prioritizing synchronization, we can greatly optimize our drone’s performance and reliability, enabling us to capture stunning, accurate aerial footage every time.

𝗦𝗮𝗳𝗲 𝗖𝗵𝗮𝗿𝗴𝗲 𝗖𝗮𝗯𝗹𝗲: Without worrying about any charging safety hazards. The original type-c cable of Potensic remote id module has overcharge protection and will automatically stop charging when fully charged

𝗪𝗮𝗿𝗺 𝘁𝗶𝗽𝘀: In order to successfully complete the RID for GPS search operation, please operate in an unobstructed outdoor space

【Universal Applicable Models】This drone payload delivery system and is designed for universal RC Drone. As long as your drone has the ability to bear more than 100g, you can use our products. The weight of the drone dropper is 34.3g, which is will not bring too much flying burden to the drone.
Effective Use of Zoom Capabilities
Have you ever imagined capturing breathtaking details from a distance without compromising quality? Utilizing effective zoom techniques can greatly enhance our aerial photography outcomes. By prioritizing optical zoom over digital zoom, we can maintain image clarity, essential for tasks like infrastructure inspection or environmental monitoring.
Distance management is key; planning our zoom sequences helps us avoid abrupt focal changes, which can lead to unwanted motion blur. Additionally, smooth stabilization technologies allow us to capture sharp images even in challenging flight conditions. For example, when monitoring crop health, being able to zoom in without disturbing the livestock makes our work efficient. By mastering these techniques, we can open a new world of possibilities in our drone photography endeavors. Understanding the importance of advanced stabilization technology can further improve our aerial shots and ensure clarity even in windy conditions.

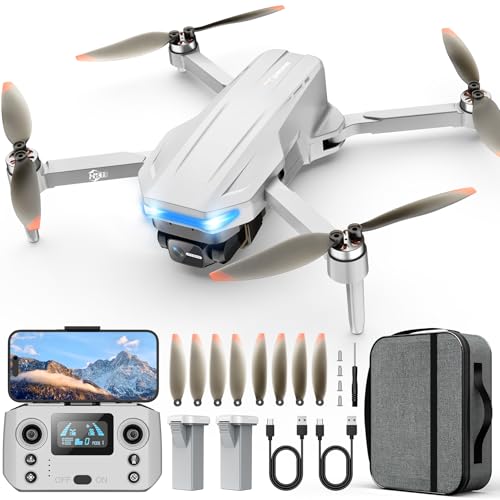
【Under 0.55lb Mid-sized Drone, No FAA Registration】Designed with a unique material composition, the X10 PRO is a remarkably valuable mid-sized GPS drone (not mini ones). Its weight is kept under 0.55lb, eliminating the need for FAA registration. This drone provides a perfect solution for hassle-free flying in the States without FAA, making it ideal for capturing stunning footage on the go.

GPS AUTO RETURN & NEVER GET LOST---Fly with ultimate confidence using integrated GPS. The drone will automatically Return to Home with a single click or if the signal is lost, ensuring it never gets lost. The Find My Drone feature on the app helps you locate it on a map if it lands far away. Your investment is always protected
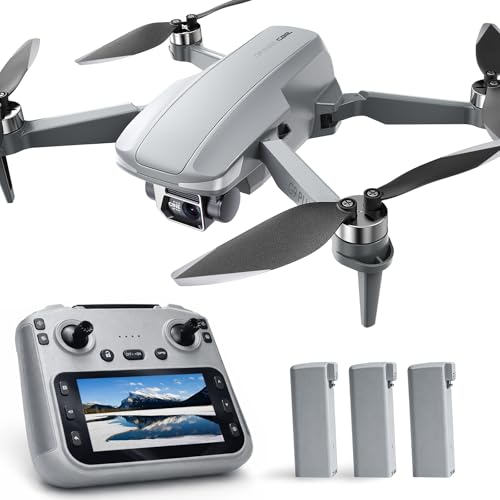
【4.5 inch HD Screen + 32GB SD Card Built-In】: Instant FPV on large 4.5" HD controller screen + pre-installed 32GB card; drones with camera for 4K ready to record right away.
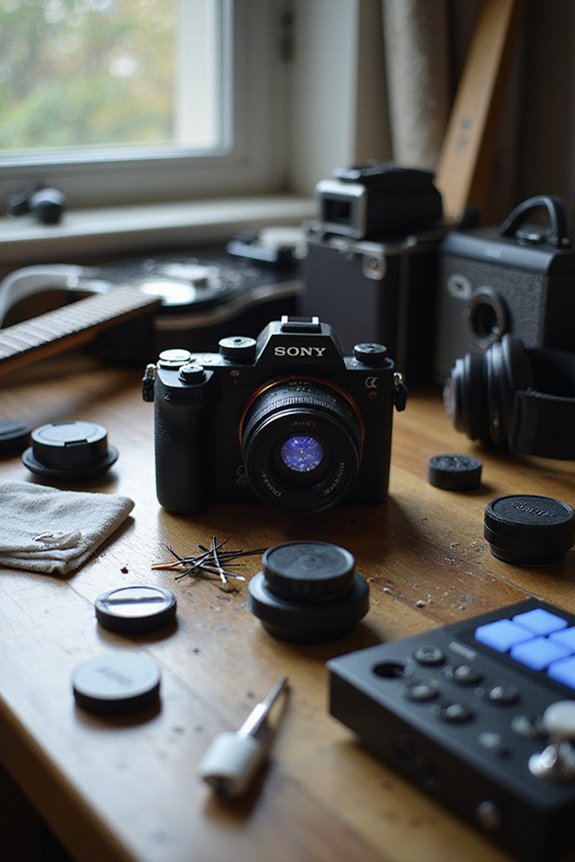
Impact of Sensor Size and Megapixels
Understanding the impact of sensor size and megapixels is crucial for elevating our aerial photography projects. Larger sensors capture more light, enhancing our images with improved dynamic range and color accuracy. For instance, drones like the Mavic 3 Pro, equipped with a Micro 4/3 sensor, deliver superior image quality compared to smaller sensors. While higher megapixels can increase image resolution, it’s important to balance these with sensor performance; a 48MP image from a smaller sensor may not yield better quality than lower megapixels from a larger sensor. Our choice of sensor affects not just image detail but also low-light performance. Ultimately, we should prioritize the right combination for our specific aerial photography goals.
Recommended Video and Image Quality Standards
When we plunge into aerial photography, establishing the right video and image quality standards is essential for achieving stunning results. For video, using high frame rates such as 60 fps is perfect for action shots, while 24 fps provides a cinematic feel. As for resolution formats, 4K and 5K options are becoming the go-to choice for professional projects, ensuring sharp details. We should also pay attention to video codecs; H.264 is great for smaller files, while H.265 offers better quality at lower sizes. For images, consider high resolution—above 20MP—for crisp prints. By balancing resolution formats with frame rates, we can create impressive aerial content that stands out on any screen.
Essential Pre-Flight Preparation Steps
As we shift our focus from achieving high-quality video and image standards, it’s time to contemplate the preparatory steps that set the foundation for a successful aerial photography flight. First, we need a thorough pre-flight checklist. We should inspect the drone’s physical condition, verifying battery health is up to standard and that all components, including propellers, are in working order. Proper drone maintenance plays a critical role here. After that, let’s define our mission goals and map our flight path to avoid any obstacles or no-fly zones. Finally, checking weather conditions is essential to guarantee safe flying. With these essential preparations in place, we’ll be well-equipped for a productive aerial photography session.
Key Safety Checks Before Takeoff
Before we take to the skies, it’s crucial to perform key safety checks that guarantee our drone operates smoothly and reliably. Starting with our preflight checklist, we first inspect the motors and propellers for any damage, making sure everything spins freely. Next, we verify that our batteries are fully charged, checking for any signs of swelling or leakage. Firmware must be up-to-date, facilitating seamless communication with our remote controller.
We should also assess weather conditions and survey the area for hazards like power lines and no-fly zones. Finally, conducting functional tests like the hover stability check allows us to confirm our drone’s readiness. By following these safety protocols, we promote a safer and more enjoyable flying experience.
Factors in Choosing the Right Drone for Photography
Choosing the right drone for photography can feel overwhelming, especially with the vast options available today, but focusing on a few key factors can simplify the decision. First, consider camera quality; a larger sensor like a 4/3-type CMOS captures more light, enhancing low-light performance. Next, think about battery life—drones that offer 30-40 minutes of flight enable longer shooting sessions. Don’t overlook gimbal stabilization; a 3-axis gimbal guarantees smooth footage, which matters across different photography styles. Finally, keep drone regulations in mind; understanding weight limits can affect portability and compliance. By weighing these factors, we’ll find the perfect drone to elevate our aerial photography experience. Brands like DJI and Autel continuously provide excellent options for our creative endeavors.

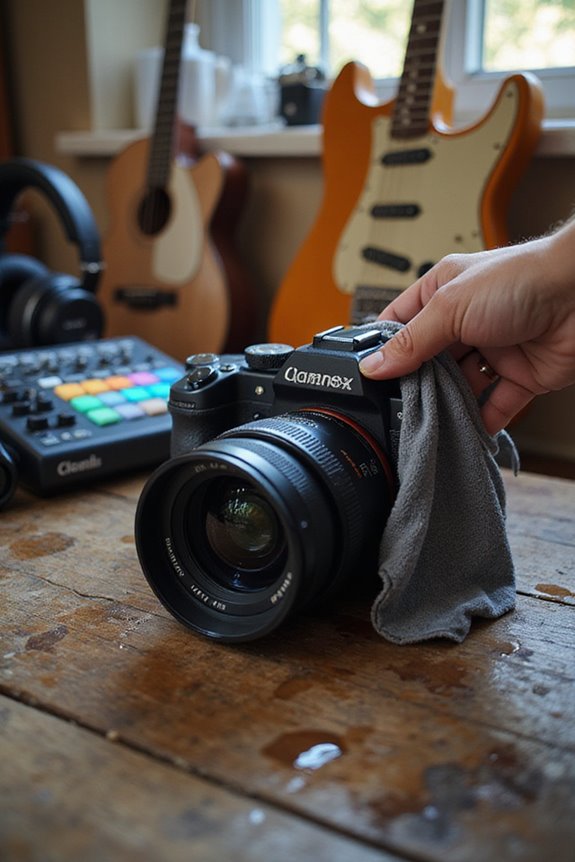
CAMERA SENSOR CLEANING KIT INCLUDES: 6 Altura Photo 16mm Dry Sensor Swab + Altura Photo All-Natural 2oz. liquid lens cleaner + Hard Carrying Case + Lens Cleaning Pen + Lens Brush + Air Camera Blower + 50 Sheet Tissue Lens Paper + 1 Large and Original MagicFiber Microfiber camera lens cleaning cloth.
【Intelligent GPS Technology】With the advanced GPS module, our Oddire drone with camera will automatically return home when battery runs low or the connection breaks up, so you’ll never worry about losing it. Besides Auto Return, other intelligent flight features like GPS Follow, Route Planning, and Fly Around simplify operation and allow even beginners to capture stunning and professional footage.

GPS Drone with Auto-Return: Fly-Away Protection for Beginners Fly with ultimate confidence. This drone GPS system prevents fly-aways by automatically returning home on low battery or signal loss. With precise positioning and a detailed flight log, you can always track your drone—an essential safety feature for new pilots.
Best Flight Operation Practices for Aerial Shots
When capturing aerial shots, implementing best flight operation practices can greatly enhance the quality of our images. Planning our flight route is essential; we should identify points of interest while avoiding crowded areas. Ideal weather conditions, like clear skies and minimal wind, are vital for stability.
Smooth flight maneuvers help avoid jittery footage, while altitude adjustments allow us to capture intricate details or expansive landscapes. For example, orbiting a subject can create dynamic shots, whereas flying low showcases textures that convey depth. By maintaining visual contact with the drone and adhering to local regulations, we guarantee both safety and compliance. This thorough preparation translates to stunning aerial photography that captivates our audience.
Understanding Drone Specifications for Photography
Understanding the specifications of our drones can greatly impact the quality of our aerial photography. First, sensor technology matters considerably—larger sensors, like APS-C or full-frame, capture more light and offer superior image quality, especially in low-light conditions. For example, a drone with a 20MP sensor can deliver stunning clarity while minimizing noise.
Additionally, the resolution must align with the intended use; 4K video capabilities are often essential for professional projects, enhancing detail and fluidity.
Lastly, let’s not overlook image processing and gimbal systems; high-quality stabilization guarantees our shots remain sharp and steady, even in challenging conditions. By grasping these specifications, we can elevate our photography game to new heights.
Frequently Asked Questions
What Post-Processing Software Is Best for Aerial Drone Images?
In the tapestry of image editing, we’ve explored software comparisons that illuminate our aerial photos. From Adobe’s versatility to Luminar’s AI brilliance, let’s find what transforms our captures into breathtaking visual stories together.
How Can I Improve Drone Stability During Flight?
To improve drone stability during flight, we can adjust gimbal settings for better camera control and switch to advanced flight modes. These steps, combined with monitoring environmental factors, will enhance our overall flight experience.
What Accessories Enhance Aerial Photography Capabilities?
To enhance our aerial photography, we should focus on improving battery life for longer flights and using lens filters to manage light and reflections. These accessories greatly elevate our photographic capabilities in various conditions.
How Do I Choose Filters for Aerial Photography?
When choosing filters for aerial photography, we consider various filter types like UV, CPL, and ND filters. Each offers unique filter benefits, enhancing contrast and color, ensuring stunning shots in diverse lighting conditions.
What Are Common Mistakes to Avoid in Drone Photography?
Did you know 70% of drone photos lack focus? We should avoid common mistakes like poor composition techniques and unfavorable lighting conditions. Planning our shots can transform our imagery, making every flight worthwhile and enjoyable.