As an Amazon Associate, we earn from qualifying purchases. Some links on this site are affiliate links at no extra cost to you. Our recommendations are based on thorough research and editorial judgment.
Best Food Photography Camera Setup
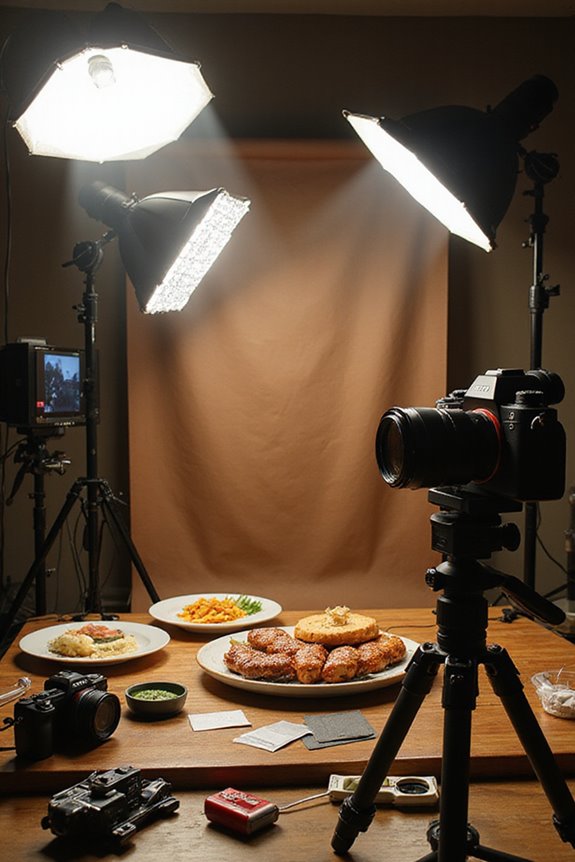
To capture stunning food visuals, we should start with a full-frame camera like the Nikon D850 for outstanding image quality. Pair it with a macro lens, such as a 105mm, to highlight intricate details. A sturdy tripod will improve stability, especially during low-light setups. Lighting plays a vital role; using natural light and a diffuser can create soft shadows. By understanding these elements, we’re well on our way to elevating our food photography skills. There’s so much more to uncover!
Key Takeaways
- Choose a full-frame camera like the Nikon D850 for superior image quality and low-light performance.
- Select a macro lens for intricate food details or a 50mm prime lens for flattering depth of field.
- Use a sturdy tripod with a geared head for stability and precise adjustments during shooting.
- Leverage natural light by positioning food near windows and using diffusers to soften harsh light.
- Experiment with different compositions and angles, including flat lays, to enhance visual storytelling in your food photography.
Choosing the Right Camera for Food Photography
You may be interested

When we’re diving into food photography, selecting the right camera can greatly impact the quality of our images. Understanding camera features, like sensor types, is essential. Full-frame sensors, such as those in the Nikon D850, deliver superior image quality and depth of field, while high-resolution models like the Sony A7R IVa allow us to capture intricate details. For those on a budget, APS-C sensors offer portability without sacrificing too much quality. Low-light performance is also important—cameras with high ISO ranges, like the Nikon D850, perform well in dim settings. Ultimately, the right camera enhances our ability to create stunning food visuals, making our work much more effective and enjoyable.
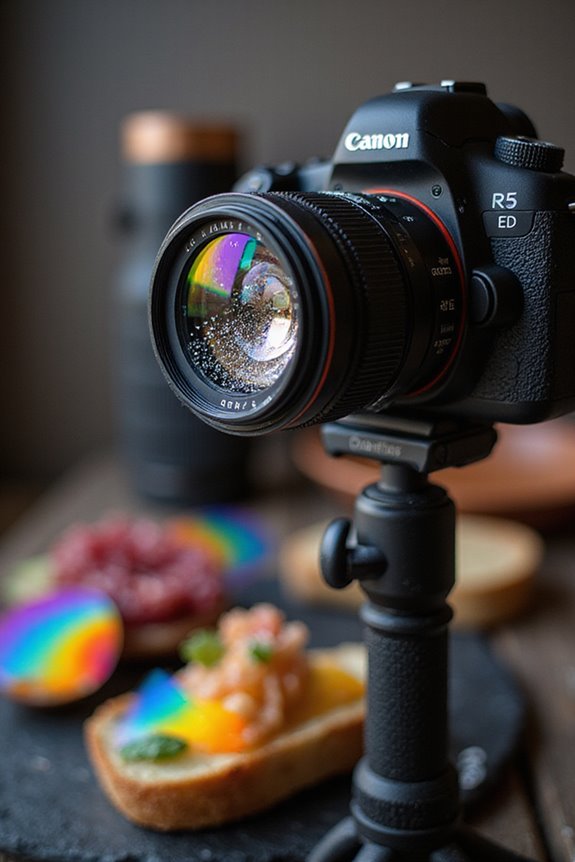
Selecting Lenses for Perfect Shots
Choosing the right lens for food photography can make a significant difference in how we capture the vibrancy and texture of our culinary subjects. For lens selection, macro lenses like the 105mm allow us to capture intricate details, while prime lenses such as the 50mm offer a flattering depth of field for portrait-style shots. Zoom lenses, like the 24-70mm, give us flexibility in framing without needing to change setups frequently. If we prefer overhead shots, wide-angle lenses can be effective, though we must be cautious of distortion. Ultimately, understanding focal length is essential; an 85mm lens works beautifully for cocktails, while a 105mm macro lens excels in capturing those mouthwatering details. Additionally, using lenses with Vibration Reduction technology can enhance sharpness and clarity, particularly in low-light settings.
Stabilization Techniques and Equipment
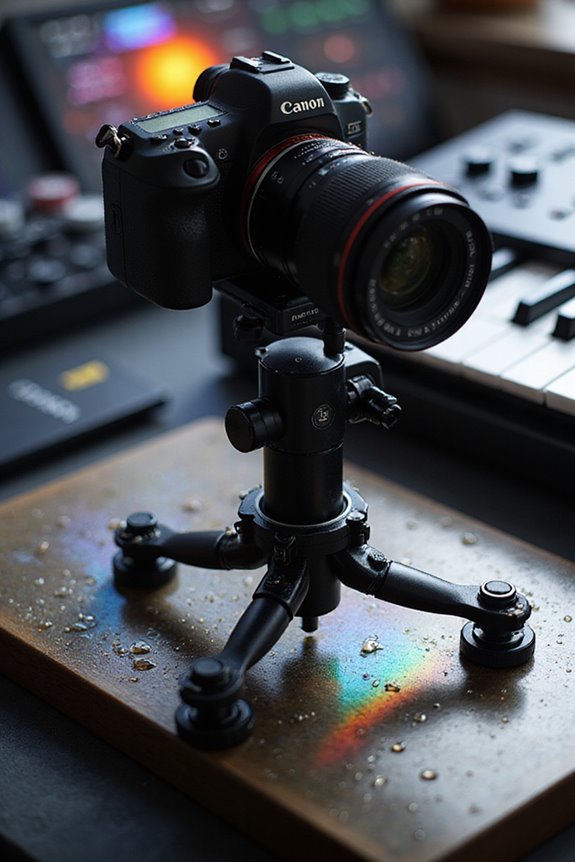
Stabilization techniques and equipment play an essential role in achieving crisp, clear food photography, especially when working under challenging conditions. Our tripod selection should prioritize stability; models with geared heads allow precise adjustments for framing perfection. For dynamic shots, consider using camera stands or overhead rigs to capture unique angles without compromising stability.
We can also utilize stabilization accessories like remote shutter releases to minimize vibrations. If we’re shooting handheld, techniques like tucking our elbows into our torso can help reduce movement. Remember to fully extend and lock tripod legs, and avoid using the center column to maintain stability. By employing these methods, we guarantee our food photography consistently showcases each dish in the best light. Additionally, selecting a tripod ball head with a suitable load capacity can enhance overall stability and support for your camera setup.
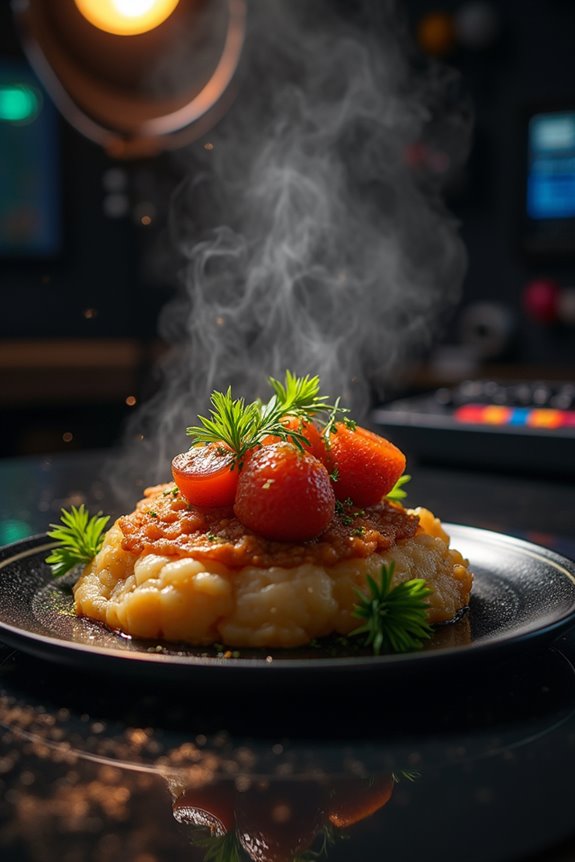
Mastering Lighting for Food Photography
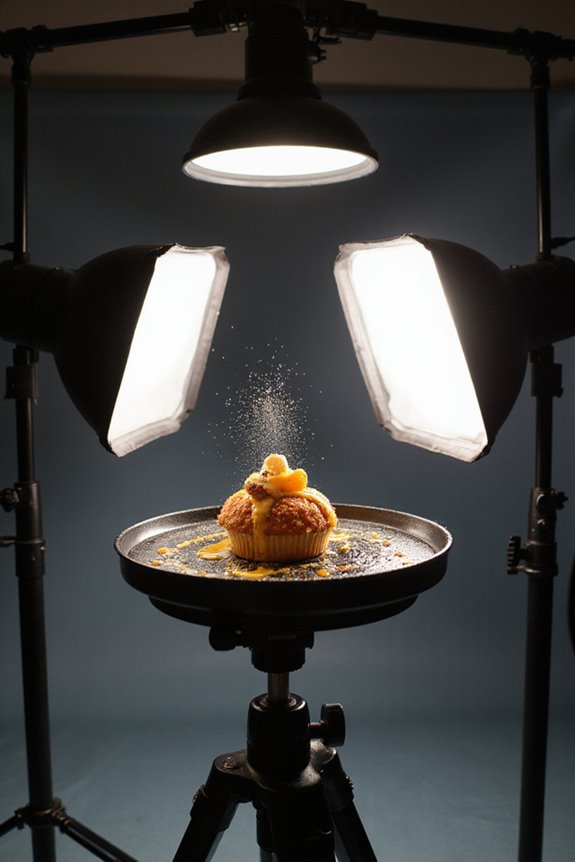
Mastering lighting is a game changer in food photography, allowing us to showcase our culinary creations in the best possible way. One of the best lighting techniques is using soft light, which produces gentle, diffused shadows that enhance texture and color. When positioning our subject near a window, we can utilize the beautiful natural sidelighting. Adding a diffuser softens harsh sunlight, while a reflector fills in shadows, creating a balanced illumination.
Incorporating shadow play can also add depth; for instance, side lighting accentuates the intricate details of our dishes. By experimenting with a mix of hard and soft light, we can create inviting images that highlight the freshness and vibrancy of our food.
Technical Considerations for Capturing Images
When we think about capturing stunning food images, it’s important to contemplate several technical aspects that can greatly enhance our results. Choosing the right lens is essential; prime lenses offer sharpness and excellent background blur, while zoom lenses provide versatility. For composition techniques, we should explore various angles—flat lay shots are perfect for presenting arranged dishes.
Stability is key, so using a tripod helps us achieve sharp images and consistent framing, especially during long exposures. Focus control is imperative; employing wide apertures separates the subject from the background beautifully. Additionally, utilizing focus stacking can enhance detail in close-ups. By mastering these technical considerations, we’re well on our way to creating mouthwatering food photography.
Optimizing Your Workspace for Food Shoots
To create a successful food photography setup, we need to focus on optimizing our workspace. First, let’s consider our workspace layout. A stable table, ideally 4’x6’, should be positioned near a natural light source, like a window, to enhance our shooting angles. This setup allows for comfortable overhead, 3/4, and straight-on shots without straining our backs. We can use reflectors to manage shadows and guarantee even lighting. Additionally, having interchangeable backdrops and organized props enables us to transform the scene quickly. By designating a dedicated corner for our equipment, we minimize setup time and maintain a creative flow. This thoughtful approach not only enhances our efficiency but also elevates our food photography game.
Frequently Asked Questions
What Are the Best Camera Settings for Food Photography?
In the world of food photography, our settings are our palette. We should aim for aperture settings between f/4.5 and f/8, paired with a shutter speed of 1/125 to 1/250 seconds for clarity and focus.
How Can I Improve My Food Styling Skills?
To improve our food styling skills, we should embrace color theory and texture pairing. By thoughtfully combining vibrant hues and contrasting surfaces, we can create visually stunning dishes that entice our audience to explore and savor.
What Props Enhance Food Photography Compositions?
When we think about enhancing food photography compositions, we often find that color palettes and texture contrasts are key. By thoughtfully choosing props, we create depth, interest, and a story that captivates our audience.
How Do I Choose the Right Background for My Shots?
When choosing backgrounds, we should consider textures and color contrasts. Textured surfaces enhance warmth, while contrasting colors make our food pop, ensuring it stands out beautifully. Let’s experiment to find our perfect combination!
What Are Common Mistakes to Avoid in Food Photography?
As the saying goes, “You can’t judge a book by its cover.” In food photography, we should avoid common mistakes like poor lighting techniques and color contrasts that distract from the deliciousness of the dish itself.