As an Amazon Associate, we earn from qualifying purchases. Some links on this site are affiliate links at no extra cost to you. Our recommendations are based on thorough research and editorial judgment.
How to Photograph the Milky Way
To photograph the Milky Way, we’ll need essential gear like a sturdy tripod and a fast wide-angle lens. We should scout locations away from light pollution, ideally between March and October, and check the Milky Way’s position using apps. For exposure, utilize a wide aperture (f/2.8), set ISO around 3200-6400, and follow the “500 Rule” for shutter speed to avoid star trails. With these tips, we’ll capture breathtaking shots and elevate our photography skills.
Key Takeaways
- Use a sturdy tripod and remote shutter release to ensure stability and minimize camera movement during long exposures.
- Opt for a full-frame camera with a wide-angle lens (f/2.8 or faster) for optimal low-light performance.
- Scout dark locations with minimal light pollution and plan your shoot during Milky Way season (March to October).
- Master the exposure triangle by adjusting aperture, ISO (3200-6400), and shutter speed (10-30 seconds) to capture details without star trails.
- Enhance your images in post-processing by adjusting white balance and applying localized edits for the best results.
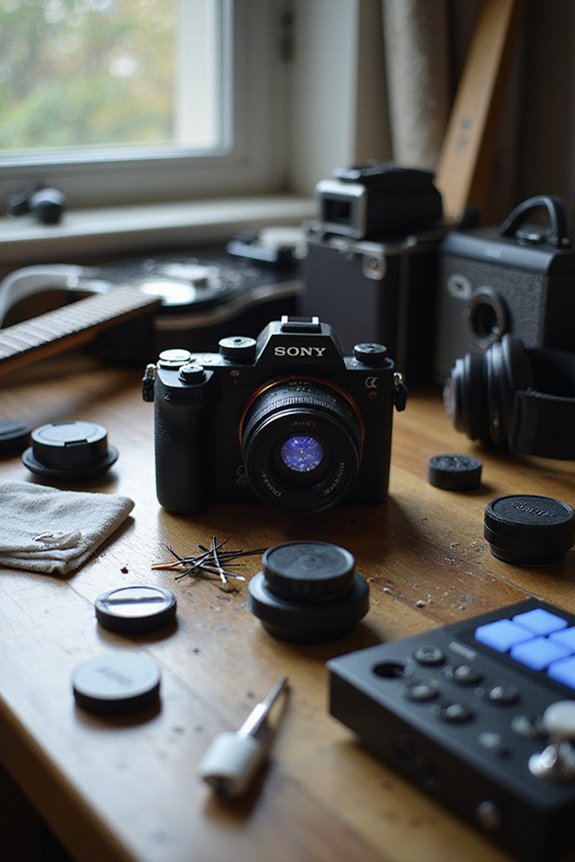
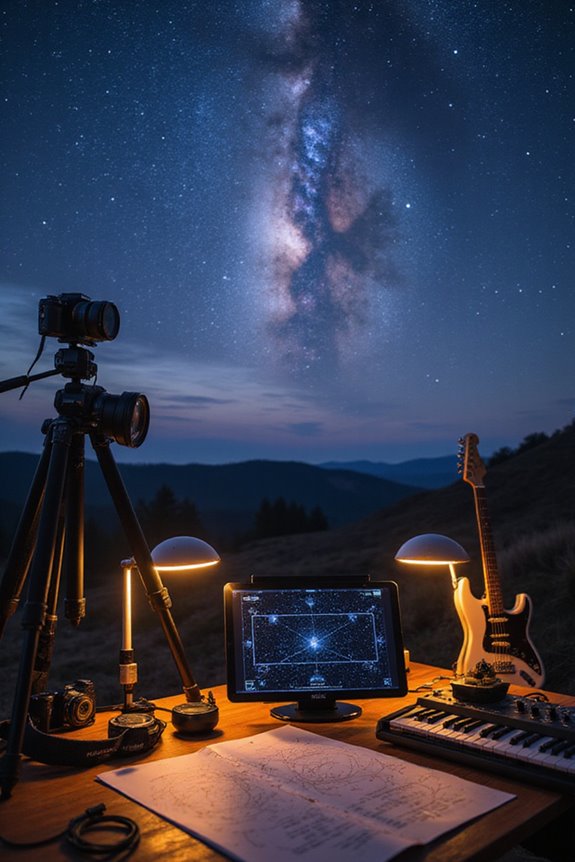
Essential Gear for Milky Way Photography
You may be interested


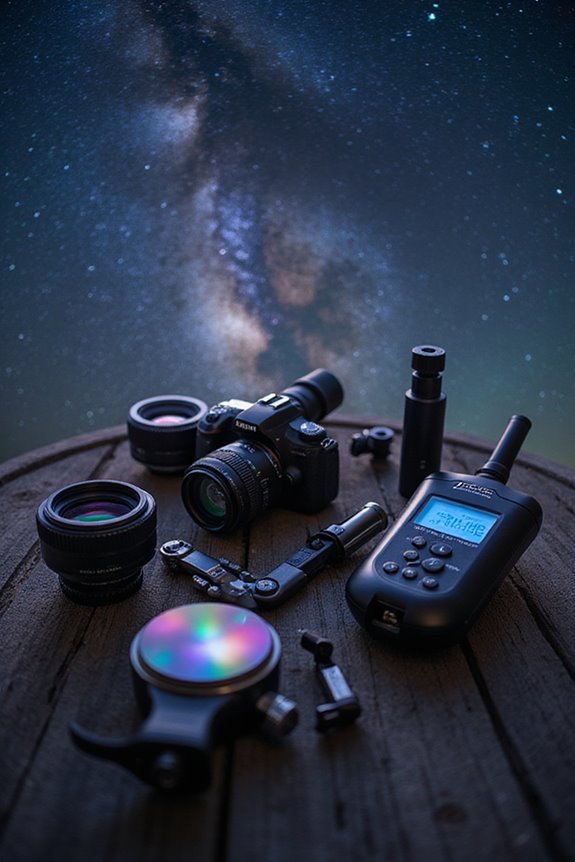
When it comes to photographing the Milky Way, having the right gear is essential for achieving stunning results. Tripod stability is vital; we need a sturdy tripod to minimize vibrations during long exposures. A carbon fiber model is a great choice for portability without sacrificing strength. Using an intervalometer allows us to trigger the camera remotely, preventing blur from our hands. We should also focus on memory card management, ensuring we have multiple high-speed cards to handle those large RAW files. A headlamp with adjustable brightness helps us set up in the dark while preserving our night vision. Finally, don’t forget weather protection accessories to shield our gear from unexpected moisture. Additionally, investing in a high load capacity tripod will provide the necessary support for heavier camera setups, enhancing overall stability during long exposure shots.
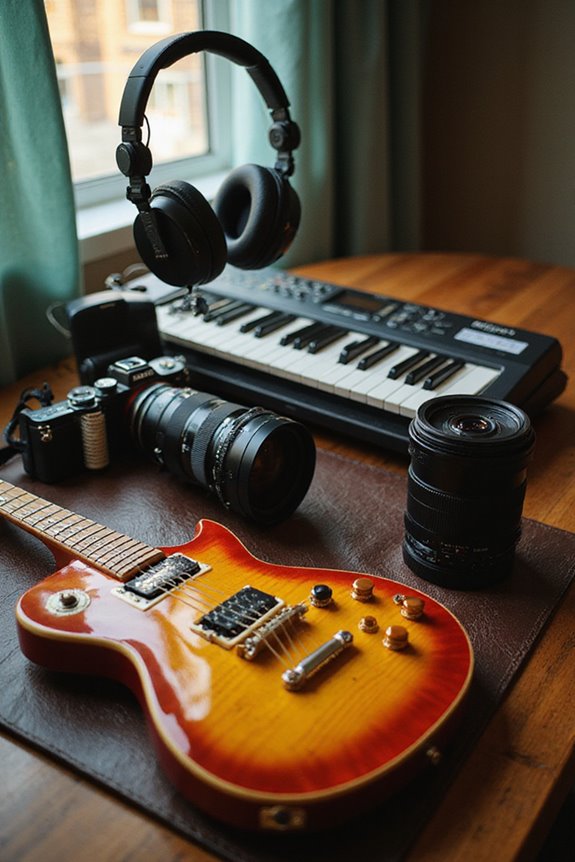
Camera and Lens Requirements
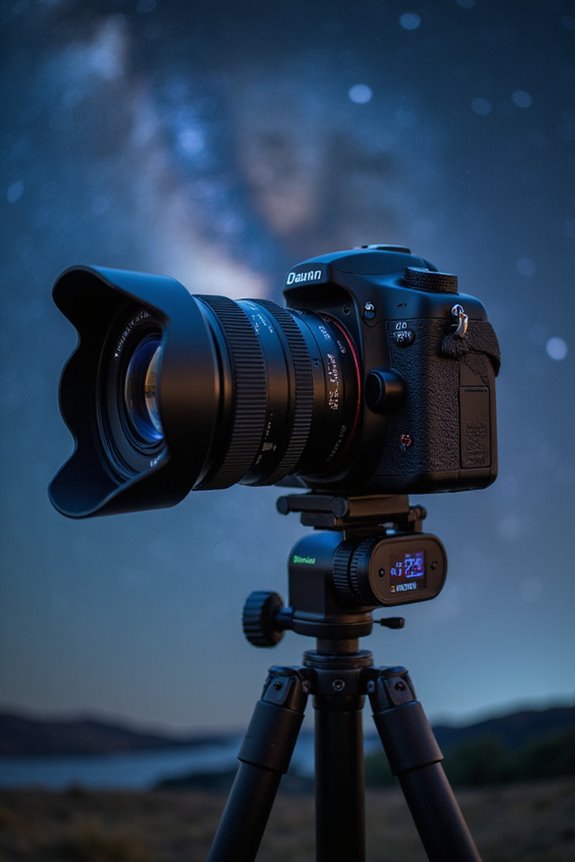
Selecting the right camera and lens is essential for capturing the stunning beauty of the Milky Way. We recommend using a full-frame camera sensor, which gathers more light in low-light conditions, making it easier to capture those faint stars. While APS-C or Micro Four Thirds sensors can work, we may need to adjust our techniques.
For lenses, a wide-angle with a lens aperture of f/2.8 or faster is ideal, allowing more light to hit the sensor. This setup helps improve image brightness and clarity. Additionally, let’s prioritize cameras with good noise control at ISO 3200-6400, as these settings are vital for capturing the Milky Way without unwanted grain.
Planning and Composition
Planning and composition are essential elements in capturing the breathtaking beauty of the Milky Way. First, we should scout locations with minimal light pollution, ideally during the Milky Way season from March to October. Utilizing apps like Sky Map can assist in celestial navigation, helping us track its position.
In terms of composition techniques, employing the rule of thirds can create a balanced image. Incorporating interesting foreground elements like trees or buildings adds depth and anchors our visual storytelling. We should also consider shooting during blue hour for softer lighting. By thoughtfully planning our shots and framing the Milky Way dynamically, we can enhance our photographs, making them not just images, but compelling narratives of the cosmos.
Exposure Settings and Techniques
To capture the stunning details of the Milky Way, we need to master our exposure settings and techniques. First, let’s talk about the exposure triangle: aperture, ISO, and shutter speed. We should use the widest aperture possible, ideally between f/1.4 and f/2.8, to maximize light intake. For ISO, starting between 3200 to 6400 on full-frame cameras helps capture the Milky Way’s brilliance while minimizing noise. When it comes to shutter speed, using the “500 Rule” allows us to set a maximum exposure time to avoid star trails—typically between 10 to 30 seconds. By fine-tuning these settings, we can achieve the stunning clarity and detail that brings our Milky Way shots to life.
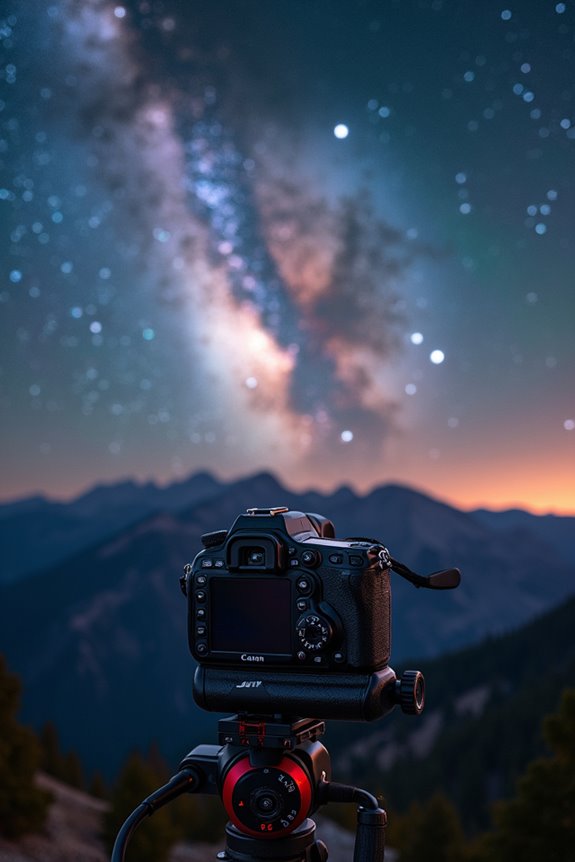
Additional Tools and Accessories
When we venture into astrophotography, having the right tools and accessories can make a notable difference in our Milky Way captures. A sturdy tripod guarantees stability, essential for long exposures. Pair it with a remote shutter to minimize vibrations and consider an intervalometer for its benefits in stacking images and creating star trails.
Headlamp features with a red light mode are indispensable for traversing dark terrain without ruining our night vision or adding light pollution. Memory management becomes important, so we should carry extra memory cards and power solutions like portable chargers to avoid running out of juice. For those wanting more detail, investing in a star tracker can greatly enhance our astrophotography gear. Outdoor durability is a must for any serious enthusiast.
Post-Processing and Enhancements
Post-processing plays a pivotal role in transforming our Milky Way images into stunning visual experiences. First, we should focus on color grading; adjusting the white balance between 3200K and 4200K helps achieve a natural look. We can enhance the vibrancy of the galactic core with localized adjustments in Lightroom or Photoshop.
Next, we can’t overlook noise reduction. Using specialized tools like ON1 NoNoise AI early in our workflow minimizes noise without sacrificing star detail. If we’ve stacked images, this technique notably improves clarity. Finally, applying local contrast adjustments enhances star field sharpness and visibility. By carefully balancing these elements, we’ll create breathtaking images that capture the true essence of the Milky Way.
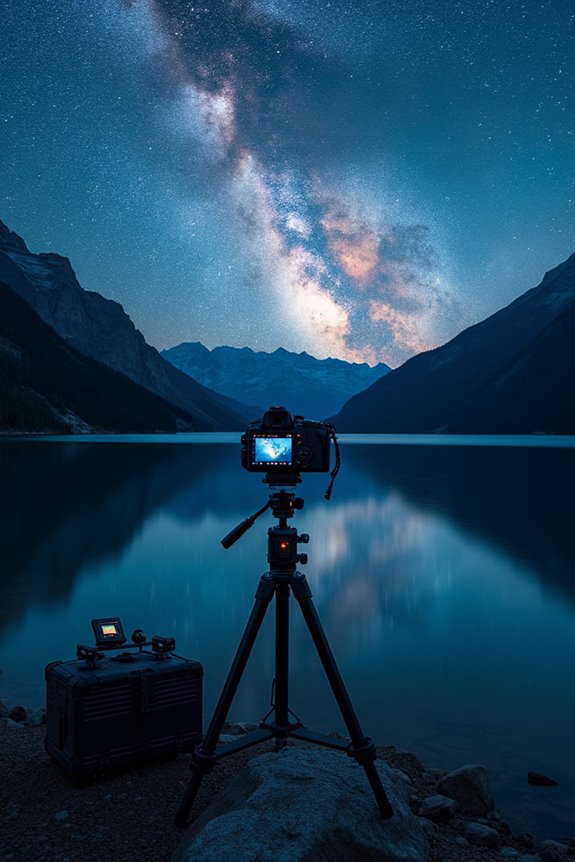
Optimal Locations for Milky Way Photography
Finding the right location for Milky Way photography is key to capturing those breathtaking shots we all aspire to create. We should prioritize areas with low light pollution, steering clear of urban centers that create skyglow. Location scouting in national parks like Banff, known for its high altitudes and minimal light interference, can lead us to stunning compositions. Places like Aoraki/Mount Cook in New Zealand or Spitzkoppe in Namibia offer remote dark skies perfect for our needs. Additionally, scenic foregrounds, such as the dramatic rock formations at Arches National Park, enhance our shots. Ultimately, balancing accessibility and remoteness guarantees we can safely transport our gear while enjoying the beauty of the night sky.
Best Times of Year for Milky Way Shots
Capturing the stunning beauty of the Milky Way requires not just skill and equipment but also careful planning around the best times of year. For those of us in the Northern Hemisphere, the visibility peaks from March to September, with the Milky Way season stretching from February to October. During these months, we can take advantage of longer nights and darker skies to enhance our photography.
Specifically, May is fantastic for capturing the Milky Way arc, while June and July offer the best composition opportunities as it rises higher in the sky. In the Southern Hemisphere, the same seasonal patterns apply, with February to October being ideal for stunning shots. Let’s plan our outings around these prime months for excellent results!
Tips for Capturing Stunning Foregrounds
When we venture out to photograph the Milky Way, foreground elements can transform a simple starry shot into a enchanting scene. To optimize foreground lighting, consider using moonlight to gently illuminate without overpowering the stars. During the blue hour, we can capture our foreground with smaller apertures for depth, then blend exposures later.
Incorporating interesting features, like trees or rocks, enhances our composition techniques, guiding the viewer’s eye to the Milky Way. Focus stacking can also guarantee sharpness throughout our foreground. Remember to maintain consistent framing between shots, and utilize long exposures at low ISO to minimize noise. With these strategies, we’ll create enthralling Milky Way images that resonate with depth and clarity.
Common Mistakes to Avoid in Milky Way Photography
Although the allure of photographing the Milky Way is undeniable, many of us stumble into common pitfalls that can diminish our results. One of the biggest photography tips is to avoid overexposure, which can wash out the core’s vibrancy. On the flip side, underexposure leads to images that are noisy when brightened.
We must also remember to use manual focus, as autofocus often fails in low light. Additionally, neglecting histogram reading can result in inadequate exposure. Planning is vital; without proper research on conditions and locations, we may miss stunning shots. Finally, using a sturdy tripod is essential to prevent camera shake, ensuring our images are sharp and clear. Let’s learn from these common mistakes to improve our Milky Way photography!
Frequently Asked Questions
Can I Photograph the Milky Way With a Smartphone?
Absolutely, we can photograph the Milky Way with a smartphone! By adjusting settings like night mode and manual focus, we’ll enhance our results. Let’s explore the best smartphone settings for capturing stunning night sky images together!
How Do Weather Conditions Affect Milky Way Photography?
As we chase dreams beneath the night sky, cloud cover and humidity levels shape our journey. Clear skies reveal wonders, while moisture may cloak our vision, reminding us patience is key in capturing the universe’s beauty.
Is It Safe to Photograph the Milky Way Alone at Night?
When considering safety while starting on solo adventures, we must prioritize safety precautions. Familiarizing ourselves with the terrain, carrying adequate lighting, and informing someone of our plans can greatly enhance our safety during nighttime excursions.
What Are the Best Apps for Milky Way Photography?
When we’re looking for the best photography apps to capture the night sky, we love Stellarium Mobile and PhotoPills. They offer amazing features for planning and visualizing our Milky Way adventures together!
Can Light Pollution Be Managed Effectively While Shooting?
Can we truly capture the night sky’s beauty amidst light pollution? By utilizing effective strategies like visiting dark-sky locations and using specialized filters, we can greatly improve our astrophotography results and minimize unwanted artificial light.