As an Amazon Associate, we earn from qualifying purchases. Some links on this site are affiliate links at no extra cost to you. Our recommendations are based on thorough research and editorial judgment.
Reading A Camera Light Meter
When we’re using a light meter, we measure the incoming light to achieve perfect exposure. A meter reading at zero shows that our exposure is right on target. We can adjust our camera settings—like aperture, shutter speed, or ISO—if needed. For tricky lighting, spot metering can help us focus on specific areas. Understanding these basics will enhance our photography skills, leading to better results in various situations. Let’s explore more about how to master these meters!
Key Takeaways
- Light meters measure ambient light to determine proper exposure for photography, ensuring accurate results.
- A meter reading at zero indicates correct exposure; adjust settings if readings differ.
- Familiarize yourself with metering modes: evaluative, center-weighted, partial, and spot metering for varied lighting situations.
- Regularly check and calibrate your light meter to prevent inaccuracies and ensure consistent results.
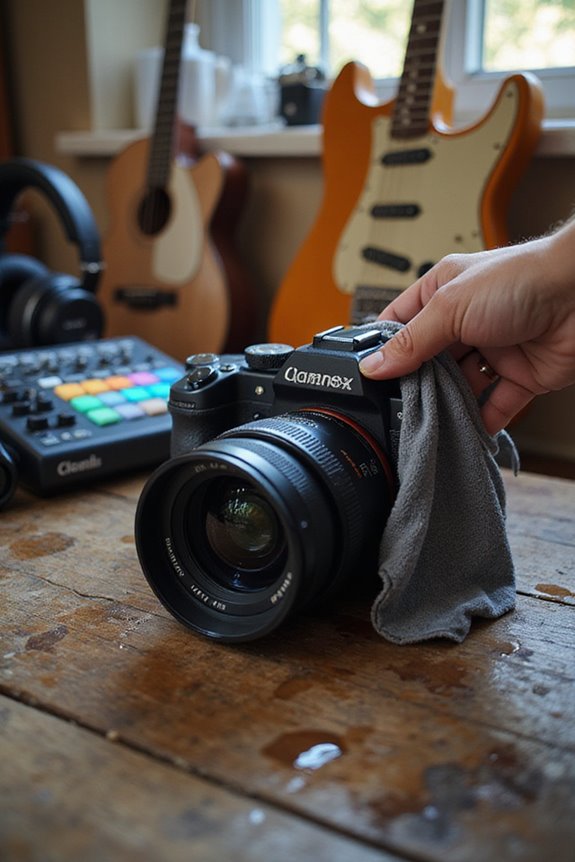
- Keep lenses and accessories clean for reliable measurements, avoiding faulty exposures caused by dirt or obstructions.
Understanding Camera Light Meters
You may be interested

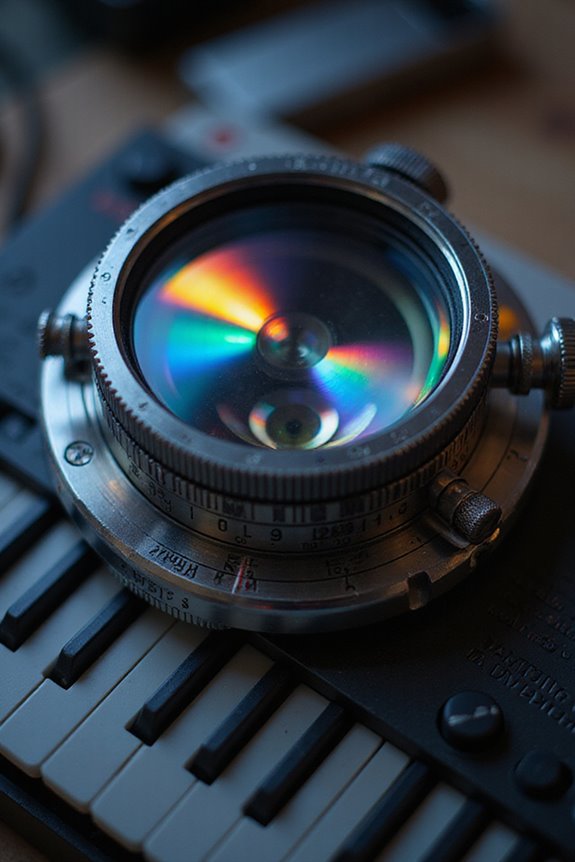
When we plunge into the world of photography, grasping how camera light meters work is essential for achieving ideal exposure. Understanding light meter features helps us measure the amount of light hitting our camera sensors or film. This process generates a scale indicating exposure ranging from underexposed to overexposed. When we see the meter reading at zero, it means we’re on point! If that number shifts, we can use exposure compensation to tweak our settings—adjusting aperture, shutter speed, or ISO—until we balance the exposure. Take a moment to familiarize yourself with your camera’s meter display; this knowledge transforms our ability to control light creatively, enhancing our photography skills markedly in various lighting conditions.
Types of Metering Modes
Understanding the various metering modes available on our cameras can greatly elevate our photography skills, as each mode serves a distinct purpose in different shooting scenarios.
Evaluative metering breaks the scene into grids, balancing exposure based on highlight and shadow details. This is perfect for landscapes and portraits. In contrast, center-weighted metering focuses mostly on the center, making it ideal for portraits where the subject is centered. For tricky lighting, partial metering helps us achieve accuracy by measuring a small area, while spot metering pinpoints precise exposure, essential in high-contrast settings. Finally, specialized metering modes like highlight-weighted guarantee highlight retention, making them useful in bright conditions. By knowing these modes, we can tackle various lighting challenges effectively.
How Exposure Is Calculated
Calculating exposure might seem complex, but it’s a fundamental skill we can easily grasp with a little practice. The exposure triangle—aperture, shutter speed, and ISO—essentially governs our photographic balance. By using the equation ( frac{N^2}{t} = frac{L times S}{K} ), we can evaluate how these elements interact. The f-stop squared (N) reveals how aperture influences light. A smaller aperture needs longer shutter speeds or higher ISO, while faster shutter speeds limit exposure time. Adjusting ISO enhances sensitivity but may introduce noise. By mastering this equation, we’re empowered to make precise exposure decisions based on scene luminance, ultimately improving our photography. Additionally, understanding UHS Class 3 ratings can help ensure optimal write speeds for recording high-quality video, which is crucial when considering exposure settings. Let’s embrace this formula as our guide to achieving ideal exposure every time.
Choosing the Right Metering Mode
How do we decide on the right metering mode for our photography? Each mode offers unique benefits based on our specific shooting situation. Evaluative metering is our go-to for most scenes, using complex metering algorithms to analyze highlights, shadows, and focus points. It excels in general situations like landscapes and portraits. When our subject is centered, centre-weighted metering prioritizes the middle, ignoring edges for a more precise capture. For challenging lighting, spot metering lets us measure light in a small area, ensuring exposure accuracy on specific details. Highlight-weighted metering protects bright areas from blowing out, ideal for backlit conditions. By understanding these modes, we can enhance our photography and achieve better exposure outcomes.
Technical Aspects of Metering Systems
Mastering the technical aspects of metering systems is essential for achieving accurate exposures in photography. By leveraging sensor accuracy, modern light meters utilize silicon photodiode (SPD) technology to guarantee precise light measurement, whether dealing with ambient or flash lighting. These meters offer versatility with interchangeable sensor heads for incident and reflected light metering, allowing us to adapt to different shooting situations efficiently.
For example, incident metering with a lumisphere captures light hitting our subject directly, while reflected light measurement evaluates the brightness bouncing from the subject. This flexibility makes it easier to achieve consistent exposures, especially in dynamic lighting conditions. Understanding these technical nuances helps us make informed choices, enhancing our overall photography experience.
High-Contrast Scenes and Spot Metering
When tackling high-contrast scenes, using spot metering can make a remarkable difference in achieving the proper exposure we desire. Spot metering advantages are clear; it allows us to measure light in small areas, providing precise control, especially in challenging lighting conditions. For instance, when photographing a sunset with deep shadows, we can prioritize details in the highlights to avoid blowouts. This high contrast technique guarantees essential features aren’t lost. By using handheld meters, we can average readings from both bright and dark zones, striking a better exposure balance. This intentional metering approach gives us the flexibility to manage shadows in post-processing, guaranteeing our images maintain depth and detail across the spectrum.
Practical Tips for Using Light Meters
Utilizing a light meter effectively can elevate our photography to new heights, guaranteeing we capture images with the perfect exposure. One key technique is taking incident readings by positioning the light meter at our subject’s location, aimed towards the light source. This helps us gauge the light falling on the subject more accurately.
When adjusting our exposure settings, we should always verify the ISO on the meter matches our camera’s setting. If we’re working with strobes, measuring each group individually helps us balance light across the scene. Additionally, familiarizing ourselves with the light meter’s settings can lead to more precise exposure adjustments. By integrating these techniques into our workflow, we’ll achieve consistently stunning results.
Common Mistakes and How to Avoid Them
Although light meters are invaluable tools in achieving perfect exposure, they can lead us astray if we’re not careful. One common pitfall is calibration errors, especially when using meters designed for film. Our digital lenses often require adjustments in T-stops. We should regularly verify our meter settings to prevent inaccurate readings.
Accessory placement is another area where we might stumble. Accessories like diffusers must be fitted snugly and positioned correctly to achieve reliable measurements. If they’re misaligned or dirty, they can yield misleading results. Remember, always keep our lenses and accessories clean to maintain accuracy, and check our settings according to lighting conditions to avoid faulty exposures. By being mindful, we can enhance our photography experience remarkably.
Frequently Asked Questions
Can I Trust My Camera’S Meter in All Lighting Conditions?
Remember when we shot that sunset? Our camera’s meter struggled with the dramatic lighting variations, highlighting its metering limitations. In tricky lighting, we can’t rely solely on it; we need to interpret readings thoughtfully.
How Does Lens Filter Choice Affect Metering Accuracy?
When we consider how filter impact affects metering precision, we must remember that not all filters yield the same results. Testing filters with our specific cameras guarantees accurate exposure and reliable images, no matter the situation.
Do Light Meters Work Differently for Film Cameras?
Yes, light meters do work differently for film cameras. We must consider film sensitivity and choose metering techniques carefully, as analog meters often align better with film needs compared to digital options that can overexpose.
Are There Smartphone Apps That Accurately Measure Light?
Have we ever relied on our phones for quick light readings? While some smartphone capabilities boast impressive app accuracy, we must remember they can struggle outdoors, requiring careful validation before we trust them in critical situations.
What Happens if I Ignore Meter Readings Completely?
If we ignore meter readings completely, we risk inconsistent exposure compensation, jeopardizing our creative freedom. Our images may end up too dark or too bright, limiting our ability to achieve the desired visual impact.