As an Amazon Associate, we earn from qualifying purchases. Some links on this site are affiliate links at no extra cost to you. Our recommendations are based on thorough research and editorial judgment.
Sunrise And Sunset Exposure Tips
When capturing sunrises and sunsets, we should prioritize our camera settings. Using the aperture priority mode lets us control depth of field while the camera adjusts shutter speed. Start with lower ISO settings (100-200) to reduce noise, and adjust as light fades. A sturdy tripod stabilizes low-light shots, preventing blur. Compositionally, we can apply the rule of thirds and look for leading lines. With these tips, we can enhance our images and capture those stunning colors beautifully. More insights await us!
Key Takeaways
- Utilize manual mode to precisely control shutter speed, aperture, and ISO for optimal exposure during sunrise and sunset.
- Shoot in RAW format to retain details and colors for extensive post-processing flexibility.
- Adjust white balance to capture the accurate hues of the vibrant sky at dawn and dusk.
- Plan shoots during golden hour and blue hour to leverage the most flattering natural light.
- Use graduated neutral density filters to balance exposure between the bright sky and darker foregrounds.
Understanding Camera Settings
You may be interested


When we head out to capture the stunning colors of a sunrise or sunset, knowing our camera settings can make all the difference. We can start with camera modes; aperture priority lets us control the depth of field while the camera adapts the shutter speed for balanced exposure. If we want complete control, manual mode is our best bet. For quick captures, program mode helps, though it limits creativity.
Using RAW format is essential for maximizing post-processing options. Setting the white balance correctly guarantees accurate colors, especially under changing light. Balancing our ISO settings with shutter speed and aperture as per the exposure triangle helps prevent noise and maintain detail. By mastering these settings, we’ll capture breathtaking scenes with clarity.
Balancing ISO, Shutter Speed, and Aperture
To capture the perfect shot at sunrise or sunset, we need to skillfully balance ISO, shutter speed, and aperture. Keeping ISO low (100-200) minimizes noise and maintains image quality, but as light fades, we can gradually increase it, being mindful of noise. For shutter speed, longer settings allow more light, which is essential when using low ISO, while faster speeds can freeze action but may require wider apertures or higher ISO. When it comes to aperture, higher values (f/8 to f/16) help achieve depth of field, while lower values can create beautiful bokeh effects. By making these exposure adjustments, we guarantee our images maintain that ideal balance of light and detail.
Utilizing Tripods for Stability
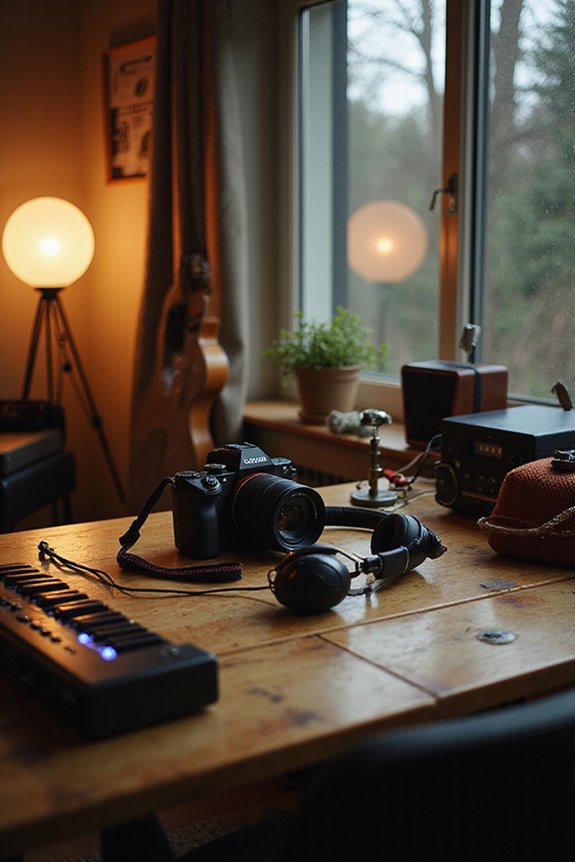
Capturing stunning images at sunrise and sunset often requires both patience and precision. Utilizing a tripod gives us the necessary tripod stability to eliminate camera shake, which is essential for sharpness, especially in low light. With a steady base, we can use lower ISO settings, reducing noise while allowing for longer shutter speeds. This stability is important for techniques like smoothing water or blurring clouds. Plus, a tripod lets us maintain consistent framing for panoramas and HDR bracketing, enhancing our creative control. During these magical hours, having our hands free means we can adjust settings or step away without losing composition. Additionally, choosing a tripod with higher weight capacity ensures better support for heavier gear, further enhancing stability during those critical moments. So let’s make it a habit to always bring a tripod; it’s invaluable for our photography sessions.
Techniques for Low Light Photography
Although maneuvering low light conditions at sunrise and sunset can be challenging, we can achieve striking photos by refining our approaches. Let’s start with low to mid-range ISO values (200-800) to maintain clarity while managing noise levels. We should also experiment with aperture settings; wider apertures invite more light but reduce depth of field.
Utilizing manual exposure mode helps us fine-tune shutter speed, aperture, and ISO for the best results. To capture the full dynamic range, exposure bracketing is essential. By taking multiple shots at varied exposures, we can blend them later for stunning detail in highlights and shadows. Remember, stability remains key for longer exposures, so let’s avoid shake however we can!
Composition Tips for Dramatic Shots

When capturing stunning sunrise and sunset shots, the right composition can elevate our images from ordinary to extraordinary. First, let’s consider unique foreground elements like trees or piers that add depth and interest. These anchors work well with leading lines, guiding viewers’ eyes toward our focal point, the sun.
Applying the rule of thirds helps us place key elements strategically, enhancing visual storytelling. As we explore different perspectives—be it low or high angles—we can introduce dynamic tension and balance our composition.
Finally, let’s remember to balance light; this prevents the sun’s dominance while preserving detail. By thoughtfully integrating these techniques, we’ll create enchanting images that resonate emotionally with viewers.
Using Smartphones for Sunrise and Sunset
Isn’t it amazing how we can capture the beauty of sunrises and sunsets using just our smartphones? With the right smartphone apps and settings, we can enhance our photography skills considerably. Setting the ISO between 100-200 guarantees sharp images with less noise, while using slower shutter speeds lets us capture varying light. For iPhone users, Night Mode is a game-changer in low-light conditions. Don’t forget to explore capturing reflections, which can add depth to our photos. A steady hand or a tripod will keep images sharp, especially when using longer exposures. By leveraging these tips, we can truly showcase the stunning beauty of these moments right from our devices, creating vibrant memories to cherish.
Creative Approaches to Exposure
As we immerse ourselves in creative approaches to exposure, understanding the interplay of light and subjects can greatly enhance our sunrise and sunset photography. One compelling technique is capturing creative silhouettes; positioning the sun directly behind our subjects allows for striking contrasts and simple compositions. We can achieve this by exposing for highlights, ensuring that the shadows remain dark and impactful.
On the other hand, employing HDR techniques can notably elevate our images. By using exposure bracketing, we can take multiple photos at different exposures, merging them to reveal intricate details across both shadows and highlights. Staying steady with a tripod is key in this process. With these methods, we can create vibrant and dynamic photographs worthy of any gallery.
Post-Capture Editing Techniques
Post-capture editing plays an essential role in enhancing our sunrise and sunset photos, allowing us to refine our creative visions. Choosing the right editing software is vital; Adobe Lightroom is perfect for adjusting exposure, while Capture One excels in color grading. Start by correcting exposure levels, ensuring we maintain dynamic contrasts. We should address white balance to preserve those stunning hues. Cropping our images can enhance composition, while contrast and clarity adjustments will make details pop. For deeper impact, we can apply color grading techniques to shift the mood of our photos. Using tools like gradient filters or dodging and burning can further elevate our images, ensuring we capture the essence of those breathtaking moments.
Managing Light Conditions
When photographing during the enchanting hours of sunrise and sunset, we need to master the art of managing light conditions to truly capture the moment’s allure. Understanding light diffusion is essential; overcast days can soften shadows, creating a gentle, even quality often overlooked. In contrast, direct sunlight can produce harsh shadows that might detract from our compositions. Shadow management involves positioning our subjects to take advantage of those long, dramatic shadows that these golden hours offer. Additionally, adjusting our camera settings, like aperture and shutter speed, will help us balance exposure. Experimenting with reflectors can also enhance our images, illuminating shadowed areas while maintaining the warmth that characterizes this time of day.
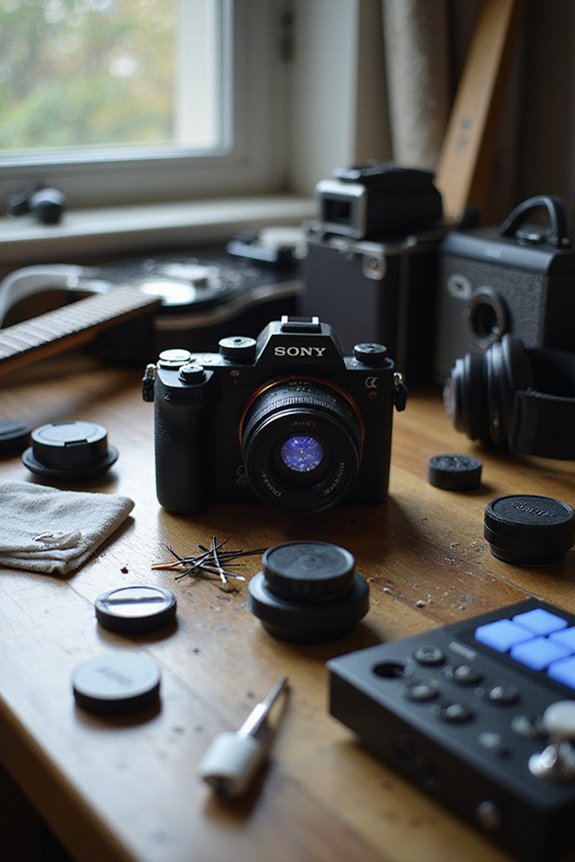
Recommended Equipment for Best Results
Capturing the magic of sunrise and sunset requires not just skill, but the right gear that can enhance our photographic efforts. To achieve the best results, we recommend investing in essential camera accessories. A wide-angle lens in the 12-35mm range allows us to capture sweeping landscapes, while telephoto lenses like the 70-200mm let us isolate the sun or distant details.
Using a DSLR or mirrorless camera with manual controls guarantees precise exposure adjustments. A sturdy tripod is crucial for sharp images during those low-light moments, coupled with a remote shutter release to minimize shake. Graduated Neutral Density filters balance exposure, while extra batteries assure we’re prepared for any scenario. With this equipment, we’ll elevate our photography to new heights!
Frequently Asked Questions
What Time Is Best for Sunrise and Sunset Photography?
For stunning sunrise and sunset photography, we should aim for the golden hour, capturing that twilight magic about an hour before and after. The soft light during this time transforms our images beautifully.
How Can I Prevent Lens Flares During Shooting?
Like shadows dancing in the light, we can shield our lens from unwanted flares. By mastering clever shooting techniques and using physical barriers, we’ll capture clearer images, free from the distractions of lens flare.
Is There a Specific Weather Condition That Improves Shots?
We find that ideal cloud coverage and low humidity levels greatly enhance our shots. The right mix creates vibrant skies, deep colors, and dynamic textures that truly elevate our photography experience. Let’s plan accordingly!
Should I Shoot in RAW or JPEG Format?
When it comes to choosing between RAW and JPEG, we’ve got to take a hard look at our editing techniques. While RAW offers better quality, JPEG keeps file sizes smaller for quick use—it’s a balancing act.
How Can I Choose the Best Location for My Shots?
When choosing the best location for our shots, we should prioritize location scouting and utilize strong composition techniques. This helps us capture the beauty of our surroundings and guarantee striking, impactful photographs.