As an Amazon Associate, we earn from qualifying purchases. Some links may be affiliate links at no extra cost to you. Although our opinions are based on curated research, we haven't used these products. Articles generated with AI.
How to Shoot Timelapse Videos With a DSLR
To shoot stunning time-lapse videos with a DSLR, we should start by selecting engaging subjects and accessible locations, like urban landscapes or blooming flowers. Setting our camera to manual mode is essential; we’ll lock in our aperture and shutter speed for consistency. Using a sturdy tripod helps eliminate shake, while careful interval planning captures changes effectively. Finally, our post-production work enhances color and smoothness. There’s much more to perfecting our technique if we keep exploring these tips!
Key Takeaways
- Select a dynamic subject and accessible location, considering environmental conditions for effective time-lapse shooting.
- Use manual mode for camera settings, locking aperture, shutter speed, and ISO for consistency.
- Stabilize your camera with a sturdy tripod and utilize a remote shutter to prevent motion blur.
- Plan your interval duration based on the subject’s movement speed, ensuring smooth transitions in your final video.
- Edit using software like Lightroom or Adobe Premiere Pro, maintaining color consistency and arranging images in chronological order for effect.
Selecting Subject and Location
You may be interested


When we set out to capture compelling time-lapse videos, the first step is deciding on the right subject and location. Ideally, our subjects should offer subject variety and display dynamic contrasts, like bustling urban scenes or clouds shifting across the sky. We want to engage our audience’s curiosity with storytelling elements that highlight movement patterns, such as blooms opening or construction progressing.
Equally important is location accessibility; we should choose spots that are safe and manageable for extended shooting periods. Evaluating environmental conditions, like lighting and weather, guarantees visual depth and enhances our overall composition. By combining these considerations, we can create stunning time-lapse sequences that resonate effectively with viewers.
Essential Camera Settings
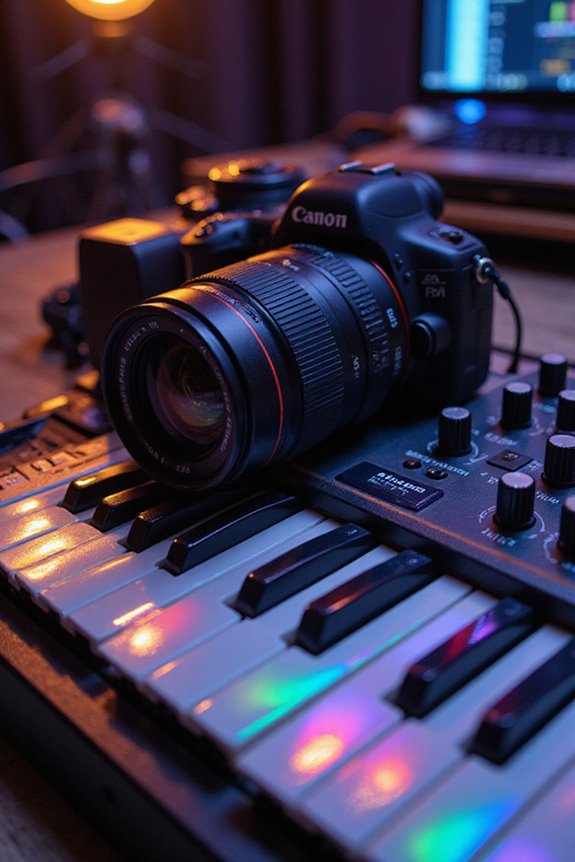
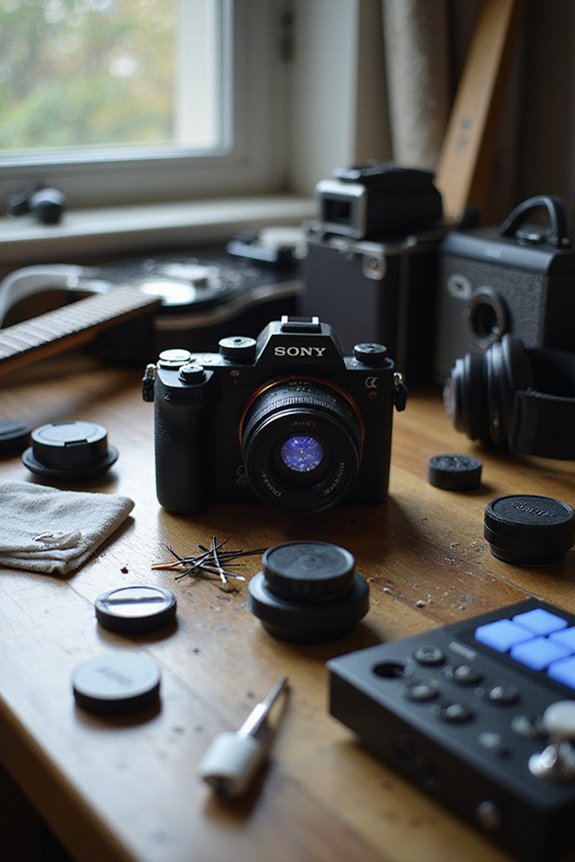
After selecting a fascinating subject and location, it’s time to focus on the camera settings that will bring our time-lapse vision to life. First, let’s switch to manual mode, locking our aperture, shutter speed, and ISO for consistent exposure. We should set our shutter speed to around double our frame rate, and keep the aperture between f/4 to f/8 for optimal sharpness and depth of field. It’s essential to disable autofocus and use manual focus to prevent any unwanted shifts. Next, we should set our white balance manually—like ‘daylight’—to guarantee we avoid color inconsistencies. Finally, fixing our ISO at a low value helps maintain high-quality image quality, minimizing noise throughout our sequence.

50 millimeter focal length and maximum aperture of f/1.8

Fast, upgraded f/1.8, compact FX format prime lens. The picture angle with 35 millimeter (135) format is 47 degree and the maximum reproduction ratio is 0.15X

Wide angle lens for Canon APS C cameras (equivalent to 38 millimeter on a full frame camera)
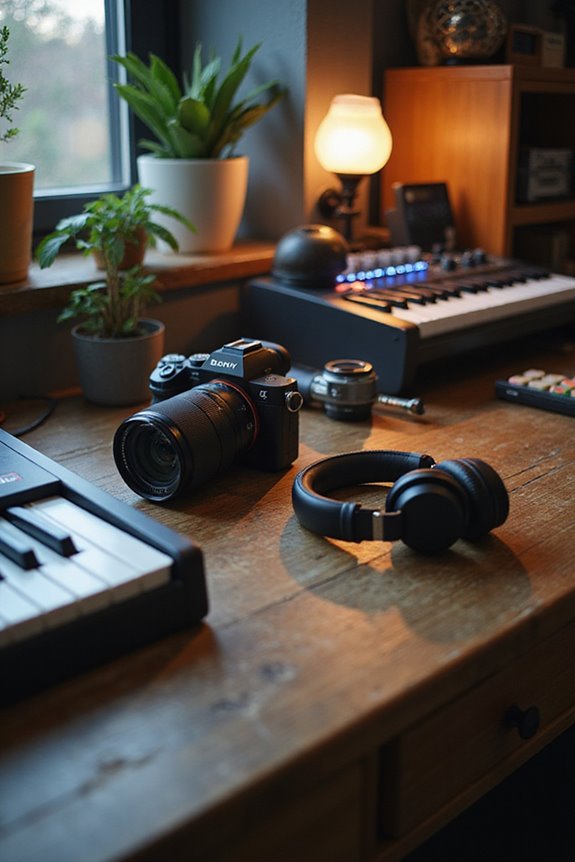
Equipment and Stability
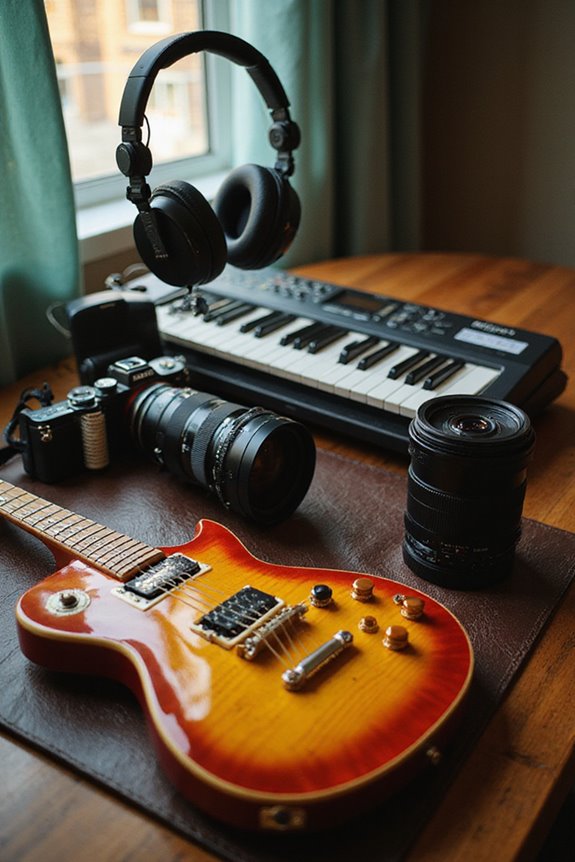
Selecting the right equipment is essential to achieving stunning time-lapse videos, and stability plays a significant role in that aesthetic. Using a sturdy tripod is vital; it anchors our camera and eliminates unwanted motion. We should also consider lens choices that complement our shooting style, as a stable setup enhances sharpness and detail.
To boost stability techniques, we can utilize tripod leg locking mechanisms and center column weight hooks. These features help prevent accidental movement caused by wind or bumps. Additionally, employing a remote shutter release minimizes camera shake during shooting. With careful attention to our equipment and stability techniques, we can guarantee that our time-lapse videos capture every moment beautifully and with precision. Choosing a tripod with higher weight capacity ensures better support for heavier gear and enhances overall stability.
ANCHOR CONNECTORS: Peak Design Anchor Connectors attach to any Peak Design camera strap to expand your gear setup. Works seamlessly with cameras, binoculars, rangefinders and more for quick, secure carry across all your devices.

Compact and portable, the storage length is only 7 inches /18CM, the weight is 1.54lbs/0.7kg, easy to store, easy to carry when traveling.

CUFF CAMERA STRAP: The most elegant, unobtrusive way to protect your camera from accidental drops, Cuff offers ultra-strong camera drop protection in a low-profile, minimalist design that won’t get in the way of your shoot.
Interval and Duration Planning
Planning intervals and durations for shooting time-lapse videos is crucial, as it directly impacts the final look of our project. We need to take into account that interval duration defines the time between each exposure; ideally, it should be longer than our shutter speed. For fast-moving subjects, short intervals of 1-3 seconds work best, while slower changes call for longer intervals of 5-30 seconds.
Let’s create a thoughtful shooting schedule: if we plan for 240 frames at 5 seconds each, we’ll need a total duration of 20 minutes. This careful planning helps avoid choppy motion and guarantees we capture every subtle change, leading to a smoother final video that captivates our audience.

AODELAN Camera remote control supports multiple TIMER mode and SHUTTER RELEASE mode: Single shooting ,continuous shooting, bulb exposure and 2 second delay modes are available for shutter release mode. Delay ,long exposure ,interval and exposure –count settings are available for timer control.

🍀Compatible with Canon EOS R3, EOS R1, EOS R5 Mark II, EOS R5, EOS R5 C, 6D MARK II, 1D X Mark II, 1DX Mark III, 1D X, 1DS Mark III, 1DS Mark II, 1Ds, 1D Mark IV, 1D Mark III, 1D Mark II-N, 1D Mark II, 1D, 1D C, 5D Mark II, 5D Mark III, 5D Mark IV, 5DS, 5DS R, 5D, 6D, 7D, 7D Mark II, 50D, 40D, 30D, 20D, 10D, D2000, D60, D30, EOS-1V, EOS-3

Compatible for Nikon D40s D800E D810A D1X D2H D3X D1 D2 D3 D3s D4 D5 D4s D800 D810 D850 D700 D500 D300 D300s D200 N90s F5 F6 F100 F90 F90X, Compatible for Fujifilm S5 Pro S3 Pro, Kodak DCS-14N
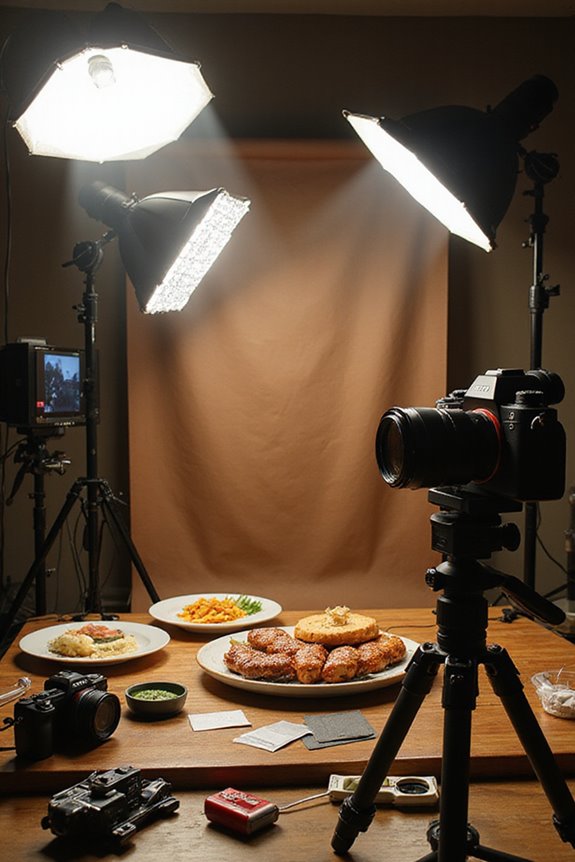
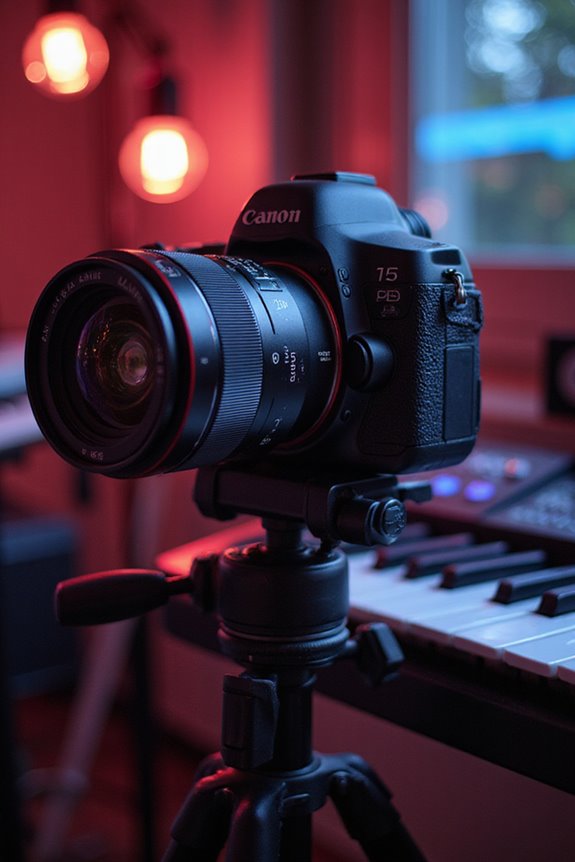
Exposure and Lighting Control
When it comes to capturing stunning time-lapse videos, controlling exposure and lighting plays a significant role in achieving professional-quality results. We should always shoot in manual mode to maintain consistent exposure settings. Setting our aperture at f/8 guarantees ideal depth of field. For smooth motion, let’s choose a shutter speed between 30 and 50 seconds. Utilizing neutral density filters can help achieve long exposures without overexposing our shots.
To enhance lighting consistency, keeping a low ISO minimizes noise, allowing for longer exposures. We can pre-focus during daylight to prevent autofocus issues at night. Remember to adjust exposure compensation to maintain ideal levels throughout our timelapse, guaranteeing our visuals stay engaging and professionally polished.
Composition for Visual Interest
Creating visually compelling timelapse videos often hinges on thoughtful composition. To enhance our visual storytelling, we can use several composition techniques. For instance, applying the Rule of Thirds helps us place subjects at intersecting lines, creating balance. Framing our shots with interesting horizon lines allows us to showcase expansive skies effectively. Leading lines can guide viewers’ eyes towards the main subject, increasing visual interest. Additionally, using a frame within a frame, like trees or arches, adds depth. Don’t forget to reflect on negative space, which can emphasize our subject beautifully. Choosing harmonious colors and ensuring dynamic changes in the scene will keep our audience engaged. By mastering these composition elements, we’ll elevate our timelapse videos considerably.
Capturing the Sequence
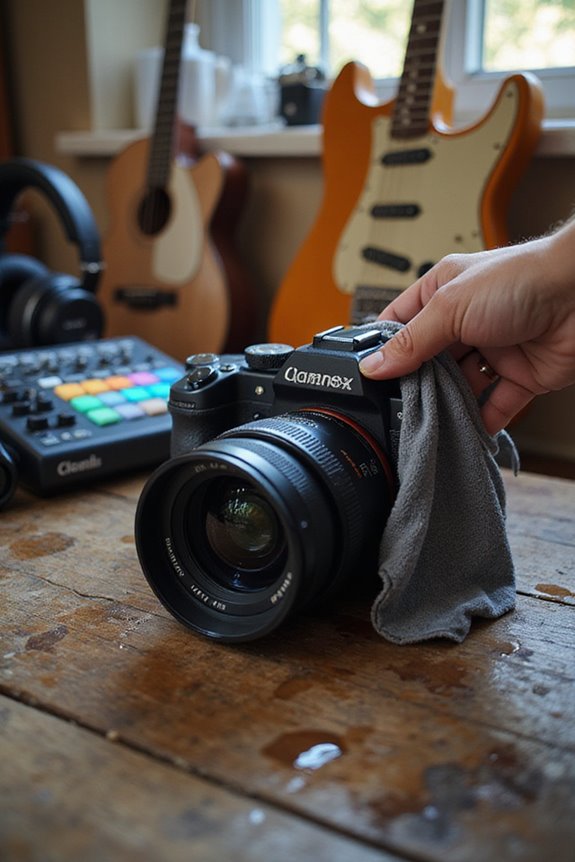
Capturing a timelapse sequence requires careful planning to guarantee each frame contributes to the overall narrative. First, we need to determine our shooting duration based on the desired final video length—timing is everything! Environmental factors, such as changing weather or lighting conditions, can greatly impact our results, so let’s stay vigilant. We should use a remote shutter release to minimize camera movement and make certain steady shots. Additionally, we must give our camera ample storage space for continuous shooting, especially during longer sequences. Keeping backup power handy is essential for extended sessions. By thoughtfully considering these elements, we can create stunning timelapse videos that effectively capture the beauty of our chosen scenes.
Post-Production Workflow
To guarantee our timelapse videos shine during the post-production phase, we’ll want to follow a systematic workflow. First, we’ll select editing software like Lightroom or Adobe Premiere Pro to manage our images. Here, we’ll perform initial color correction, setting a consistent tone across our frames.
Next, we’ll arrange our photos in chronological order, creating that mesmerizing timelapse effect. Adjusting the frame rate is vital for achieving the desired speed and smoothness. After compiling our sequences into a cohesive video, we’ll choose the appropriate video format, such as MP4 or MOV, based on our intended platform.
Lastly, we’ll retain metadata for future reference and finalize our export settings, ensuring high-quality output without losing essential details.
Tips for a Successful Time-Lapse
When planning our time-lapse project, it’s essential we keep a few key tips in mind to guarantee success. First, let’s talk about camera settings. We should shoot in manual mode, use a small aperture, and lock exposure. This prevents flickering and maintains focus. Additionally, we need to stabilize our equipment—using a sturdy tripod is a must! Next, let’s consider our shooting techniques. Short intervals (1-5 seconds) work well for fast-moving subjects, while longer (5-15 seconds) fit slower changes. Finally, we can draw creative inspiration from our environment. Shooting during the golden hour or busy city scenes can elevate our work remarkably. By following these tips, we can create visually stunning time-lapses that captivate our audience.
Frequently Asked Questions
Can I Use a Smartphone for Shooting Time-Lapse Videos?
Yes, we can definitely use our smartphones for shooting time-lapse videos! With built-in time-lapse modes and handy app recommendations, we’ve got an accessible way to create stunning videos, though they may lack DSLR quality.
How Do I Choose the Best Time of Day for Shooting?
Choosing the right moment’s like picking ripe fruit; we want the sweetest deal! So, let’s aim for golden hour under favorable weather conditions to capture stunning visuals that truly make our time-lapses shine.
What Subjects Are Best for Beginners?
When we think about subjects for beginners, nature scenes and urban landscapes are perfect. They offer diverse elements, from the tranquility of parks to bustling city life, making our first forays into time-lapse beautifully rewarding.
How Can I Prevent Battery Drainage During Long Shoots?
To prevent battery drainage during long shoots, we should focus on battery management. Using external power sources, carrying backups, and adjusting camera settings can help us extend battery life considerably while capturing our footage.
Is It Necessary to Use a Tripod for Stabilizing Shots?
We can’t imagine capturing a breathtaking sunset without our trusty tripod! Tripod alternatives simply can’t deliver shot stability like it does, leaving us with shaky footage that ruins our artistic vision. Let’s keep those shots steady!