As an Amazon Associate, we earn from qualifying purchases. Some links may be affiliate links at no extra cost to you. Although our opinions are based on curated research, we haven't used these products. Articles generated with AI.
How to Replace a Broken Hot Shoe Cover
Replacing a broken hot shoe cover is straightforward. First, we secure the camera with the lens down and power it off. Next, we gently pry the old cover off using a small tool. After removing it, we inspect the area for debris. When selecting a replacement, we verify it’s compatible with our camera model and consider materials like ABS plastic for durability. Finally, we align and press the new cover into place until it clicks. Let’s explore this process step-by-step.
Key Takeaways
- Securely position the camera with the lens facing down and power it off to avoid electronic mishaps before starting the replacement process.
- Use a small screwdriver or plastic pry tool to gently press and slide the broken cover toward the LCD screen for removal.
- Check compatibility of the new hot shoe cover with your camera model, verifying specifications and material options before purchasing.
- Align the new cover over the mounting rail and gently press it into place until you hear a click indicating it’s locked securely.
- Test the new cover’s stability by gently attempting to slide it off; it should remain securely in place without any movement.
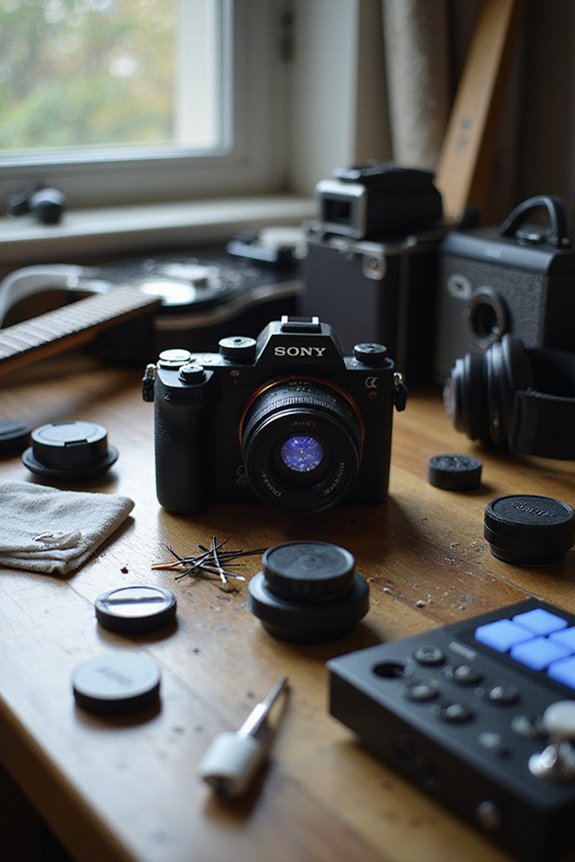
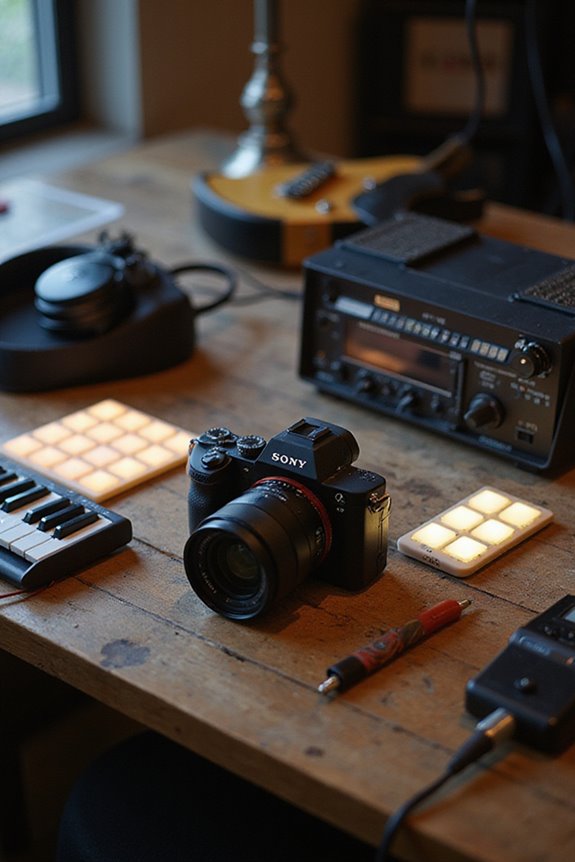
Understanding Hot Shoe Covers
You may be interested


When we talk about camera accessories, hot shoe covers often fly under the radar despite their essential role. These small protectors slide into the hot shoe when it’s not in use, safeguarding the electrical contacts underneath from dirt and moisture. This helps maintain hot shoe functionality by preventing corrosion and ensuring reliable connections for flashes or other accessories. Additionally, they provide crucial camera protection by shielding the metal rails from bending or damage. Using a hot shoe cover is straightforward—just slide it in and out as needed. A good practice is to replace the cover after removing an accessory, which prolongs the lifespan of both the camera and its components.
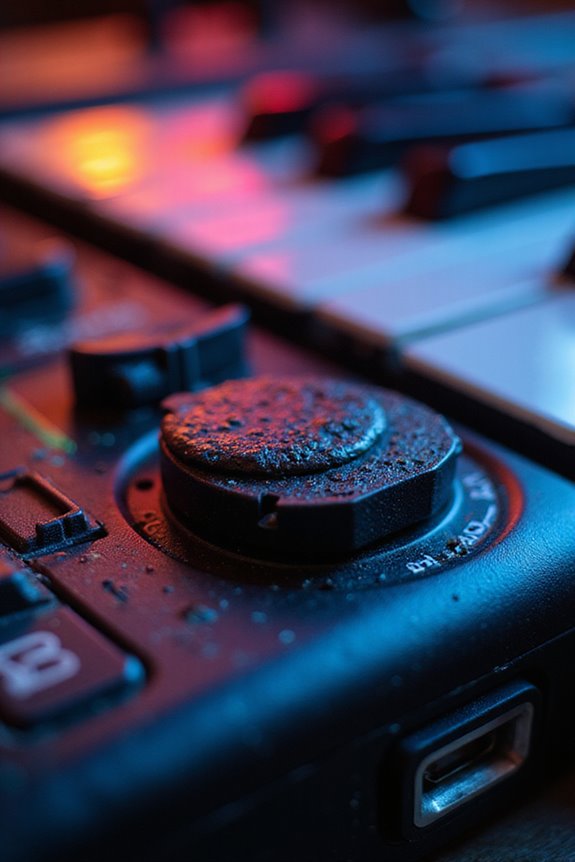
Signs of a Broken Hot Shoe Cover
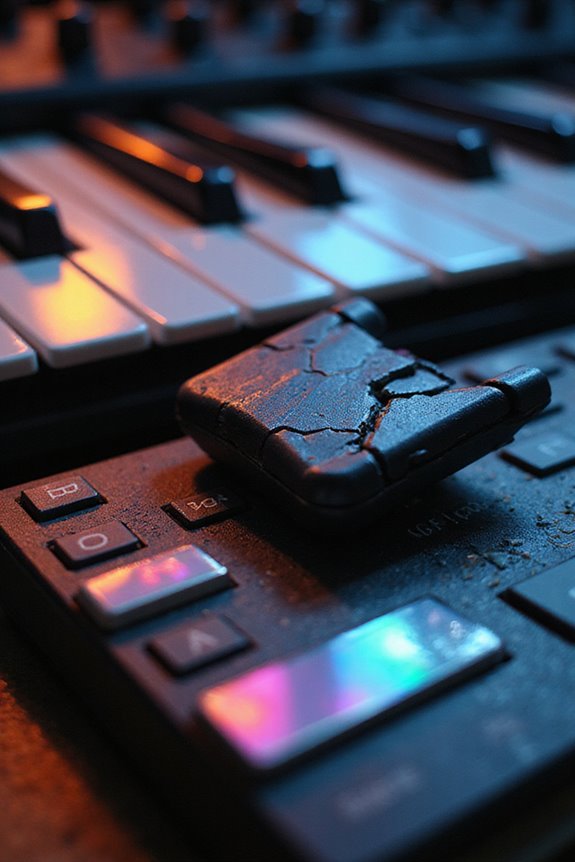
Noticing the signs of a broken hot shoe cover can save us from bigger headaches down the road. One clear indicator is loosening over time; if the cover slides off too easily, its durability has likely diminished. Friction loss on rubberized covers can also cause an unstable fit. We should be cautious of incompatibility issues with third-party covers, as they can interfere with hot shoe functionality, impacting features like the built-in flash. Visible cracks or physical damage are also telltale signs that it’s time for a replacement. If we notice these signs early, we can protect our camera’s components and guarantee everything operates smoothly without unnecessary risk. Regular checks help us maintain our gear in top condition.
Removing a Broken Hot Shoe Cover
Removing a broken hot shoe cover requires careful attention to detail and a few straightforward steps. First, we need to securely position the camera, typically with the lens facing down, to facilitate access. Next, let’s gather our tools—like a small screwdriver or a plastic pry tool—before powering off the camera to avoid any electronic mishaps.
For the hot shoe removal, we’ll apply slight downward pressure and slide the cover toward the camera’s LCD screen. If it’s stuck, gently rocking it may help. We should also inspect for any debris or damage around the hot shoe base after removal, preparing for the next cover installation step. Always remember to keep our workspace organized, so no small parts are lost.

Great combination of L-type and T-type speedlite mounts and improved from them

Dedicated size protector cover for Fuji camera hot shoe and snug on

Dedicated Compatibility: SmallRig Cold Shoe Adapter with Windshield is exclusively designed for Sony ZV-1F / ZV-E10 / ZV-1 / ZV-E1 / ZV-1 II cameras. It is providing the simplest vlog solution for creators, allowing them to achieve clear voice recording and additional attachments.
Choosing a Replacement Hot Shoe Cover

Choosing the right replacement hot shoe cover is key to confirming that our camera’s hot shoe remains protected from scratches and environmental hazards. First, we must consider brand compatibility; specific covers fit models from brands like Nikon, Olympus, Panasonic, and Ricoh. It’s essential we verify compatibility charts before making a purchase to confirm a proper fit.
Next, let’s explore material options. We encounter covers made from premium ABS plastic that offer lightweight, portable designs, or sturdy stainless steel for added protection and aesthetic appeal. Each material provides different levels of defense against scratches, dust, and moisture. By matching the right cover to our needs, we enhance our camera’s longevity and performance!

Body cap protects the camera's sensor from dust and damage when a lens is not mounted, it fits Sony E mount mirrorless camera such as Sony Alpha A1/A1II/A9/A9II/A9III/A7C/A7CR/A7C II/A7/A7 II/A7 III/A7 IV/A7V/A7S/A7S II/A7S III/A7R/A7R II/A7R III/A7R IV/A7R V/A6700/A6600/A6500/A6300/A6000/A5100/A5000/A3000/ZV-E10/ZV-E10 II/ZV-E1,Sony NEX Series NEX-7/NEX-6/NEX-5/NEX-5R/NEX-5N/NEX-5C/NEX-3/NEX-3C/NEX-3N,etc.

PROTECTION: Protect your camera hot shoe from getting bent or damaged, help to keep moisture and dust from the hot shoe;

Wide Angle Adjustable:The gopro camera mount comes with a 360° rotation ball head for you shooting from any angles. The aluminum alloy mini ball head is light and durable,rotating the knob allows you lock your camera at the best visual angle
Installing a New Hot Shoe Cover
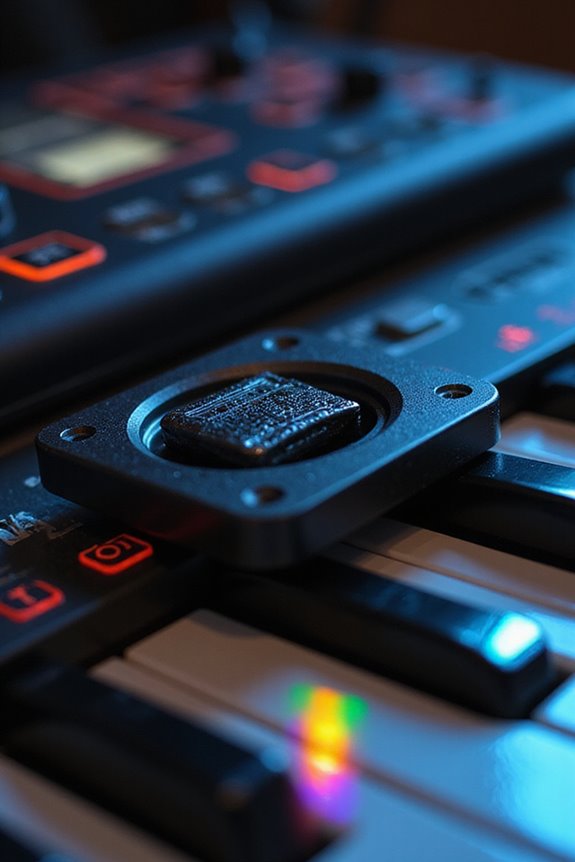
When we’re ready to install a new hot shoe cover, it’s essential to approach the process with care to guarantee everything fits correctly. First, we align the new cover over the mounting rail, ensuring it matches our device’s specifications. Using correct installation techniques is crucial, so we press the cover gently into place until we hear a click—indicating the locking mechanism has engaged.
Some models might require sliding the cover forward to lock securely. If screws are part of our installation, we fasten them without over-tightening to prevent damage. After installation, we test the cover’s stability by attempting to slide it off gently; it should remain secure but release when we press the release button.
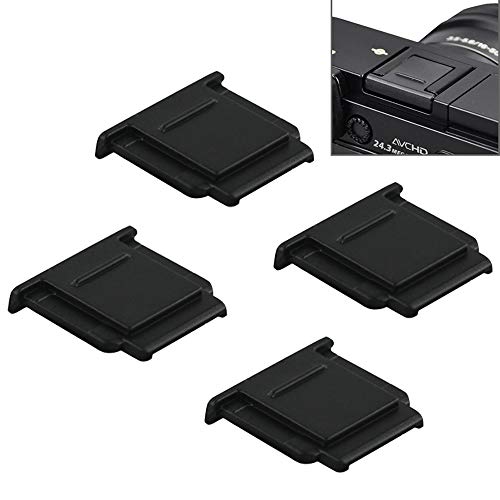
Dedicated size protector cover for Sony camera MI Multi Interface hot shoe and snug on, 4 pieces in one pack

2-Pack, the second one as a backup in case one gets lost by accident

Compatibility: This L-shaped grip is custom-designed for FUJIFILM X100VI and X100V cameras. The handgrip is fastened using a single 1/4"-20 screw located at the bottom. It matches the texture and color scheme of the camera body, fitting seamlessly when mounted.
Benefits of Using Hot Shoe Covers
Investing in hot shoe covers offers us several practical benefits that enhance both the performance and longevity of our camera gear. One of the main hot shoe benefits is accessory protection; covers prevent dust and debris from interfering with electrical contacts, ensuring reliable function. They also guard against moisture, reducing the risk of corrosion in wet conditions—a lifesaver when shooting outdoors.
Moreover, hot shoe covers shield our equipment from physical damage during transport. This not only preserves the structural integrity of our cameras but also reduces the need for costly repairs. Finally, they’re easy to install and come in various colors, allowing us to keep our gear looking sharp while maintaining its functionality for years to come.
Maintenance Tips for Hot Shoe Covers
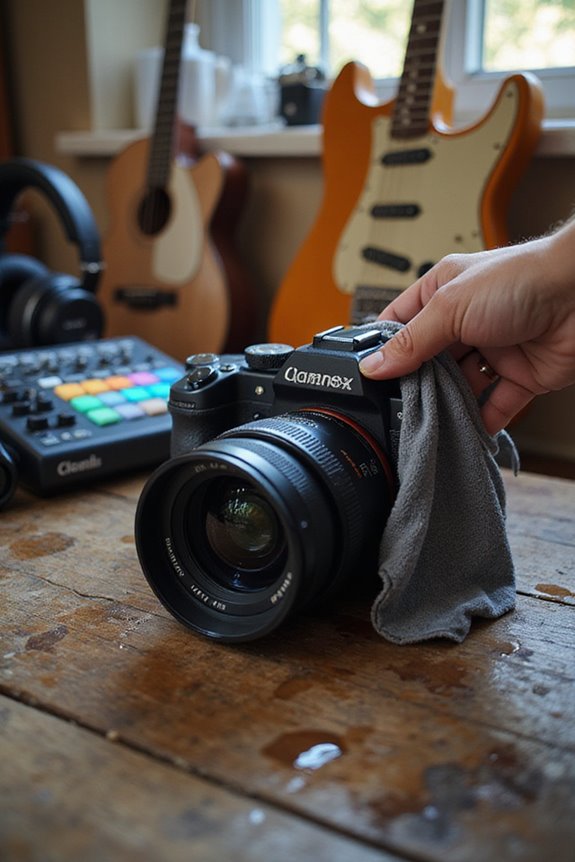
Maintaining our hot shoe covers is vital for ensuring peak performance and safeguarding our camera gear. First, let’s talk about removal and reattachment. Always press down on the designated part before pulling off the cover; this minimizes damage. Store removed covers securely to prevent loss.
Regular hot shoe maintenance is important. Use a blower or soft brush to keep dust at bay, and clean contacts gently with Q-tips. Moisture can lead to corrosion, so make sure to dry the hot shoe area thoroughly after exposure. Finally, regularly inspect the cover for cracks—addressing these issues promptly not only enhances cover longevity but also protects our camera’s functionality. Let’s all commit to these practices for best results!
Common Issues With Hot Shoe Covers
While we’ve just covered some maintenance tips for hot shoe covers, it’s also important to recognize that these components can encounter a variety of issues that may compromise their functionality. First, we need to assess hot shoe vulnerabilities, such as physical damage from pressure or impact due to heavy accessories. Furthermore, many covers suffer from design flaws, including poor fitting, which can lead to misalignment and gaps. This affects the cover’s integrity and can easily result in loss. Additionally, moisture and dirt can corrode the electrical contacts inside the hot shoe. Regularly checking for these common issues is essential in extending the life of our hot shoe covers, ensuring our camera gear remains reliable and functional during shoots.
Frequently Overlooked Hot Shoe Cover Features
When it comes to hot shoe covers, many of us might focus solely on their protective role, but there are features that often slip under our radar. One standout aspect is the availability of custom designs. These covers can match the color and contours of our specific camera brands, blending seamlessly for a cohesive look. Additionally, their aesthetic appeal, enhanced by finishes like bead blasting, provides a sophisticated texture that elevates our gear’s overall look. We shouldn’t overlook the practical benefits either; many covers incorporate soft silicone pads to prevent scratches on our hot shoe contacts. By considering these often-ignored features, we can enhance both the functionality and style of our photography setup.
Frequently Asked Questions
Can I Use Any Hot Shoe Cover on My Camera?
We can’t use just any hot shoe cover on our camera; different hot shoe types have specific compatibility issues. Using the wrong cover risks poor fit and potential damage to our camera’s electronic contacts.
How Do I Know if My Hot Shoe Cover Is Compatible?
We’d love to assume all hot shoe types magically fit our cameras, but compatibility issues are real. Let’s review our camera’s specifications and guarantee the hot shoe cover matches perfectly for a secure fit!
What Tools Do I Need for Hot Shoe Cover Replacement?
When replacing a hot shoe cover, we’ll need various screwdriver types for screws, adhesive options if the fit’s loose, and tools like tweezers for easier handling. Let’s make sure we’re fully prepared!
Are There Any Warranties for Replacement Hot Shoe Covers?
When we bought our Nikon BS-1 cover, we were relieved to find warranty coverage for defects. Exploring replacement options, we learned generic ones often lack warranties. Always check before purchasing for peace of mind!
Can I Repair a Broken Hot Shoe Cover Instead of Replacing It?
Yes, we can often repair a broken hot shoe cover instead of replacing it. With some DIY repairs, we might use adhesive or fasteners as effective hot shoe alternatives, keeping costs low and extending our equipment’s life.